
This time, I would like to share a small script that will allow you to turn on your Chromebook into a machine capable of running Docker containers.
Difficulty: Super Easy.
Time consuming: About 5 minutes.
Cost: Free (Open Source Licensing).
Goal: To turn on your into a machine capable of running Docker containers from anywhere in the world.
Why Docker? Sometimes, we are on the road. And if you are like me, you might perform Data Science projects from a Chromebook -or low specs laptop- through a secure SSH connection. My custom-built Data Science server currently runs docker images, RStudio Server, Jupyter Notebooks, SAS, Python, and many other valuable tools. These tools help me analyze data and code directly on my “home cloud” by using any browser. This approach sometimes is impossible to do if the server is not turned on, or if the network I am connected to, does not allow me to join.
Requirements
-
Chromebook: These steps are for Chromebooks only.
-
Second: Make sure to follow all required steps, it took me a while to figure things out, I am sure it will help you.
Setup
Modern Chromebooks now support ChromeOS, thus allowing us to run native Linux applications without the need to enable developer mode. With this in mind, I will describe the steps required to install and run Docker on a Chromebook successfully.
Check ChromeOS version
For this, you need to make sure that you’re running Version 69 or higher. You can verify this by typing into your Google Chrome browser chrome://os-settings/help.
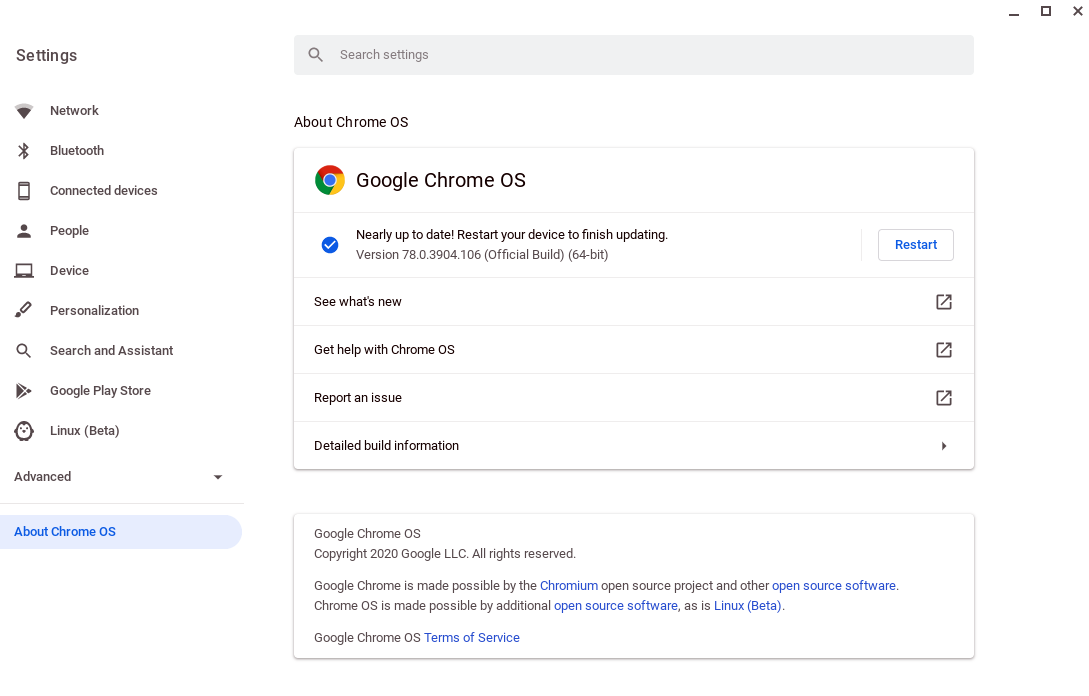
At the center, you can read the version. In my case, the output shows:
Version 78.0.3904.106 (Official Build) (64-bit)
If you would like to check which ChromeOS devices support Linux (Beta), follow this link.
Enable Linux Beta
On the left side of the setup window that just opened, there’s a Linux (Beta) tab. Make sure to click on it and enable it by turning it on.

Install Docker Engine - Community
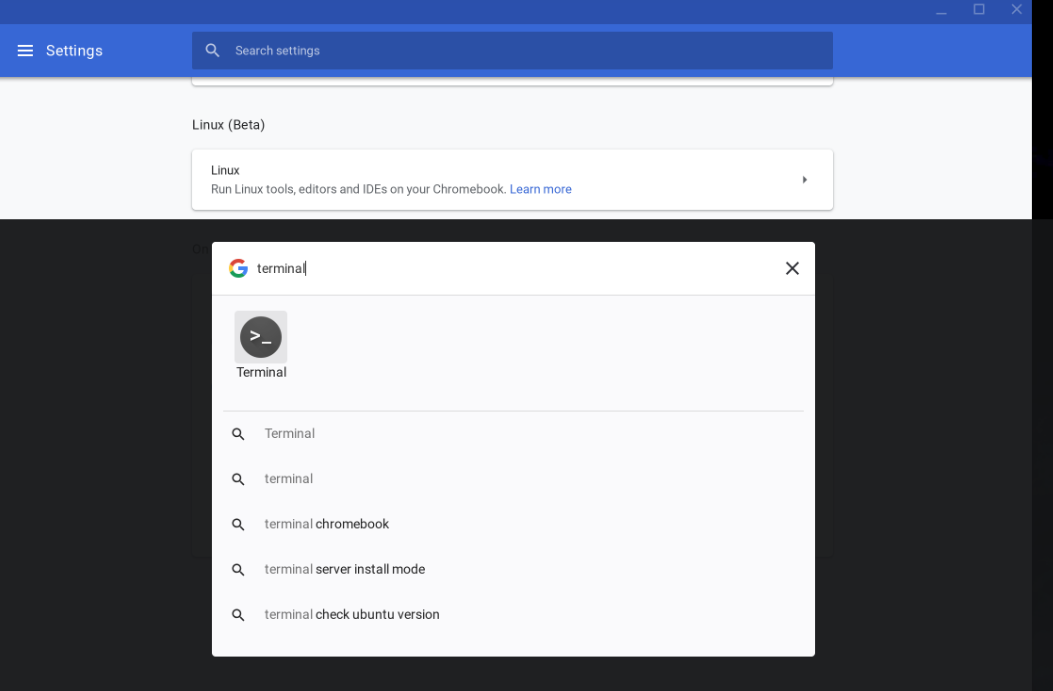
1 - Open Terminal
2 - Setup the repository
If you would like to learn more, you can visit the Get Docker Engine - Community for Debian site. A summary of the needed steps is listed below.
Update the apt package index:
sudo apt-get update
Install packages to allow apt to use a repository over HTTPS:
sudo apt-get install \
    apt-transport-https \
    ca-certificates \
    curl \
    gnupg2 \
    software-properties-common
Add Docker’s official GPG key:
curl -fsSL https://download.docker.com/linux/debian/gpg | sudo apt-key add -
Verify that you now have the key with the fingerprint 9DC8 5822 9FC7 DD38 854A E2D8 8D81 803C 0EBF CD88, by searching for the last eight characters of the print.
sudo apt-key fingerprint 0EBFCD88
Use the following command to set up a stable repository.
sudo add-apt-repository \
   "deb [arch=amd64] https://download.docker.com/linux/debian \
   $(lsb_release -cs) \
   stable"
3 - Install Docker Engine - Community
Note: This procedure works for Debian on x86_64 / amd64.
In your case, you can verify what Linux (Beta) flavor is running on your Chromebook by typing as follows:
cat /etc/issue
In my case, the output shows Debian GNU/Linux 9 \n \l.
Update the apt package index.
sudo apt-get update
Install the latest version of Docker Engine - Community and containerd.
sudo apt-get install docker-ce docker-ce-cli containerd.io
Verify that Docker Engine - Community is installed correctly by running the hello-world image.
sudo docker run hello-world
That’s it; now you have successfully installed Docker on your Chromebook.
4 - How to Use
I had a few hiccups trying to see my Docker images running on my browser. Hence I am adding this helpful info.
As an example, I have created a Docker image with the New York Riverkeeper’s Enterococcus data. You can visualize this app by executing the following command –and allow a little bit of time for rendering.
sudo docker run -p 80:8050 -it dvillalobos/data608-project04
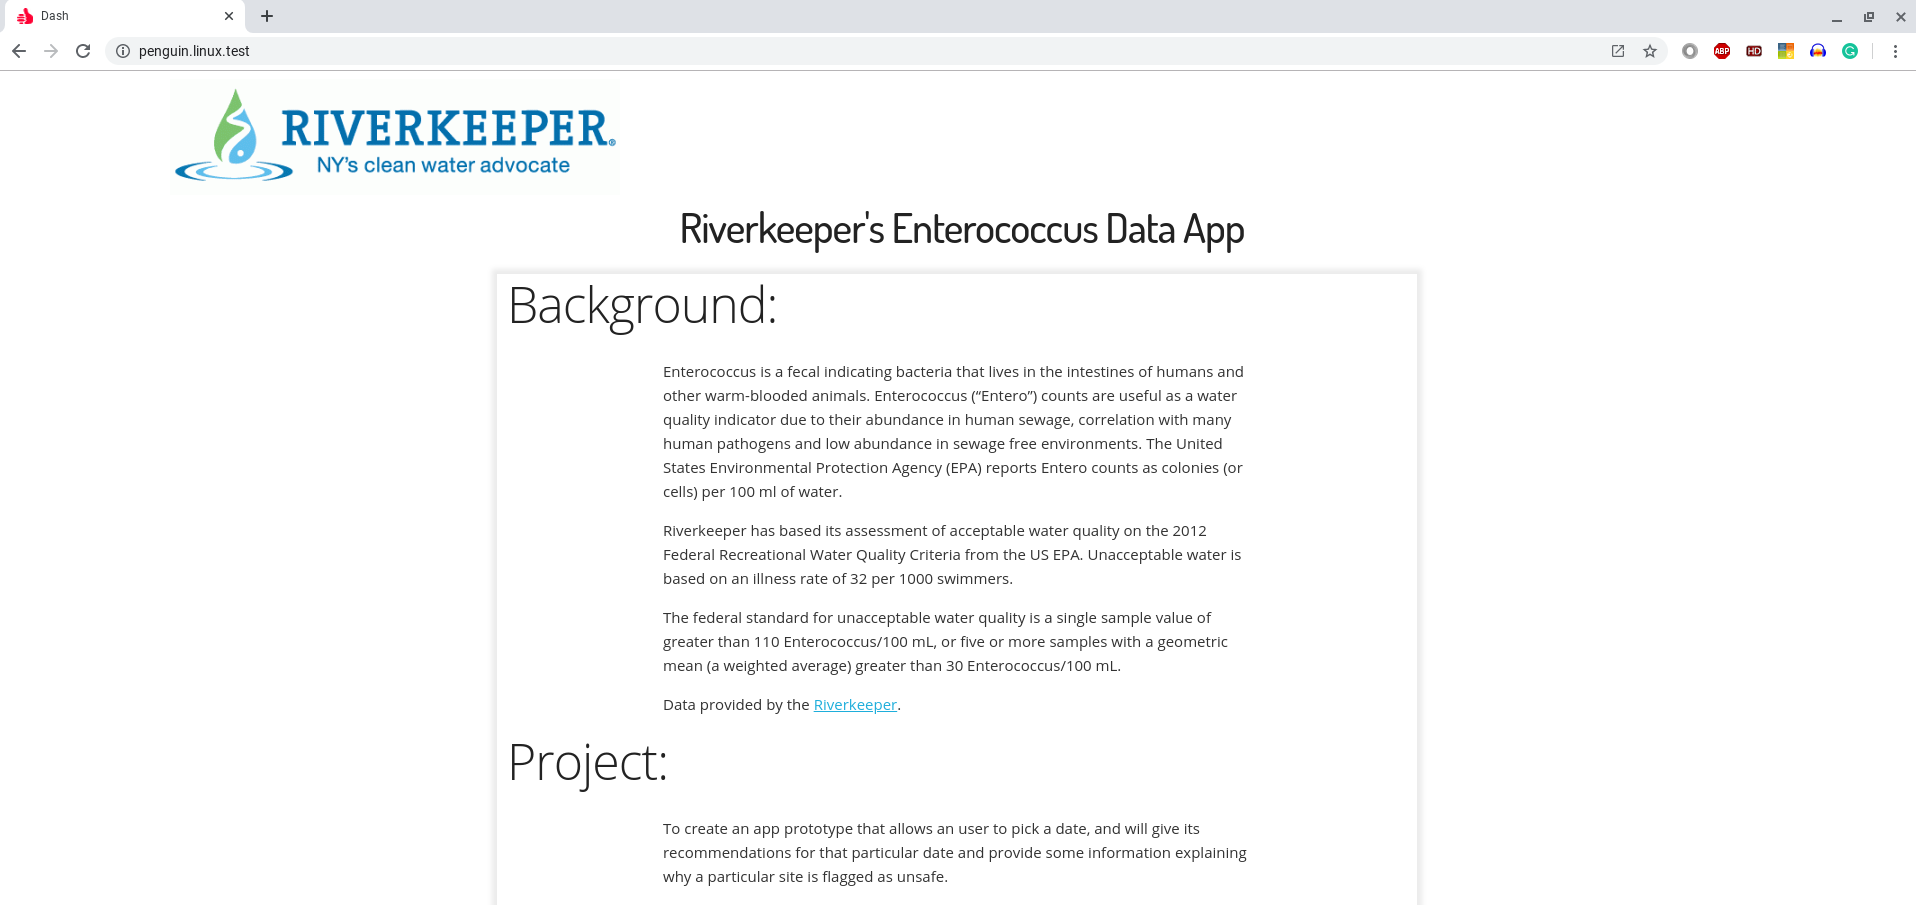
Since ChromeOS is not loading the localhost 0.0.0.0 as desired, and in order to see this example, you must type in your browser penguin.linux.test. As you can see, the last step is not straight forward.
References
I believe worth mentioning some essential references that helped me achieve my goal, that is, to install and run Docker images on my Chromebook.
- The Chromebook Linux Shell (Update 3), it helped me to identify the correct address to type from the Chrome browser by opening penguin.linux.test. Also, it provides outstanding resources as to how to install Docker web interfaces. Thank you.
Conclusion
That’s it; now you should be able to run almost any Docker image on your Chromebook.
I hope this tutorial helps you as much as it has helped me.