Today, I want to learn SAS.
While there are many alternatives to learn, and due to, being a Masters Student of Data Science from the City University of New York School of Professional Studies (CUNY SPS); I found out that CUNY offers The CUNY Virtual Desktop environment.
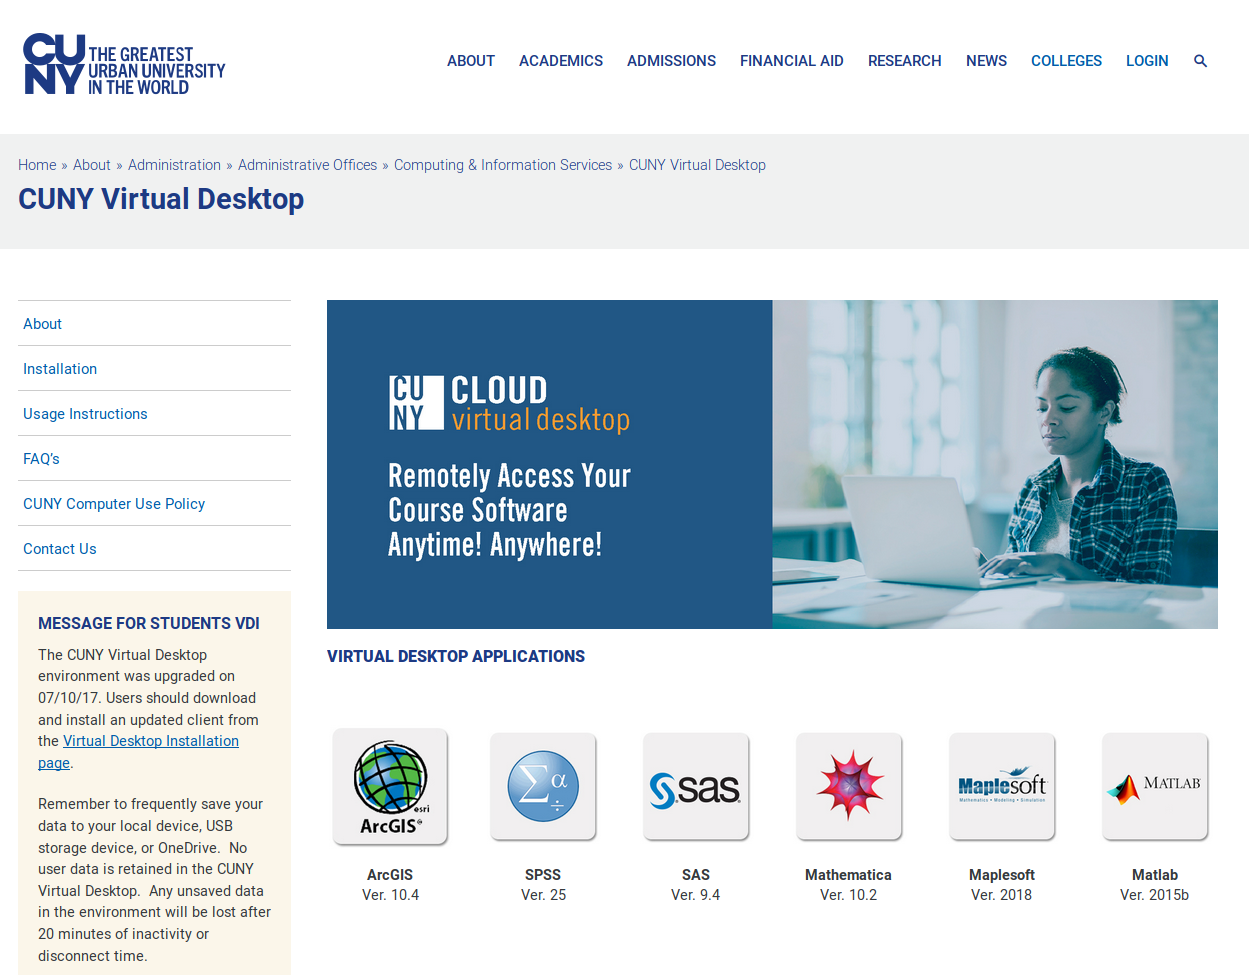
The following is their description as taken from their site here.
The CUNY Virtual Desktop lets you access software remotely. Current applications available include ArcGIS, SPSS, SAS, Matlab, Mathematica, and Maplesoft. No longer are you restricted by the hours and availability of your campus labs? The CUNY Virtual Desktop gives you access anytime and anywhere to costly applications you may need for your classes.
Currently the CUNY Virtual Desktop is available to students and faculty at all CUNY schools that are on CUNYfirst. Up to 3000 students can use the CUNY Virtual Desktop at the same time. Additional schools, software, and services will become available through the CUNY Virtual Desktop in the future.
To maximize the availability of the CUNY Virtual Desktop, your session is limited to 8 hours. Inactivity for 20 minutes or more will end your CUNY Virtual Desktop session and any unsaved data will be lost.
Based on the above, I decided to give it a try and see how it serves.
Instructions
To get access from my Lubuntu Linux Home Server especially designed for Data Science by myself (see the previous article “Transform my home server into a data science server” for further understanding), I first to decided follow their instructions, but I failed; hence, these are the directions that worked for me.
Visit the CUNY Virtual Desktop site
For more detailed guidance, the site can be seen by following this link: https://www2.cuny.edu/about/administration/offices/cis/virtual-desktop/.
Step 1: Download VMware Horizon Client for 64-bit Linux
The file that the CUNY site provided did NOT work, I kept receiving the the following error, and did not know how to resolve the issue.
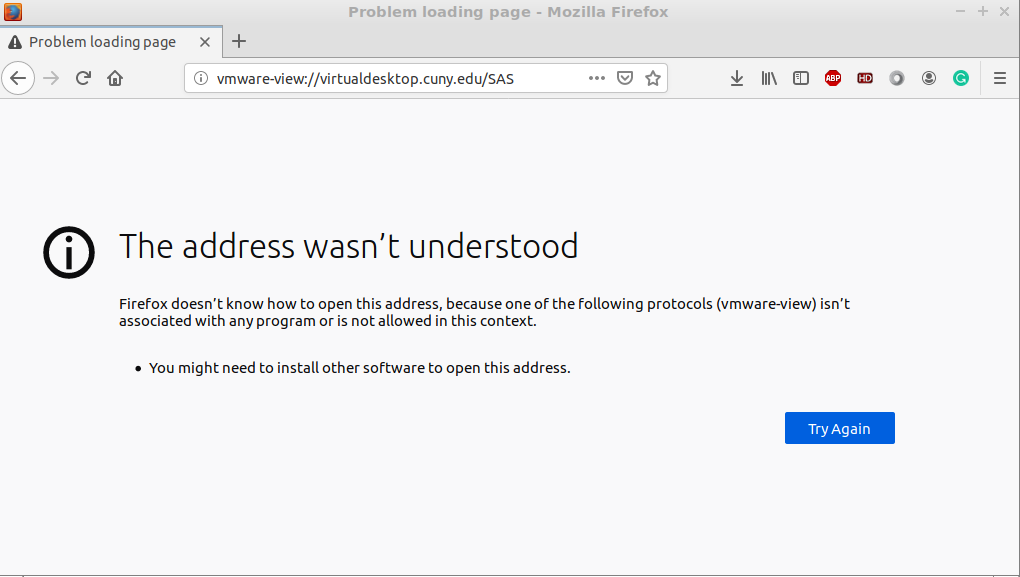
From my perspective, I was under the impression that the installation was performed properly, but nothing was presented afterward. Hence, I did some extra research and ended up installing the following bundle.
Visit my.vmware.com site
The best alternative if something custom is not working is to go to the source.
In that sense, I went to this address and downloaded the VMware Horizon Client for 64-bit Linux. In my case, I downloaded the latest version 4.10.0 at the time of this writing.
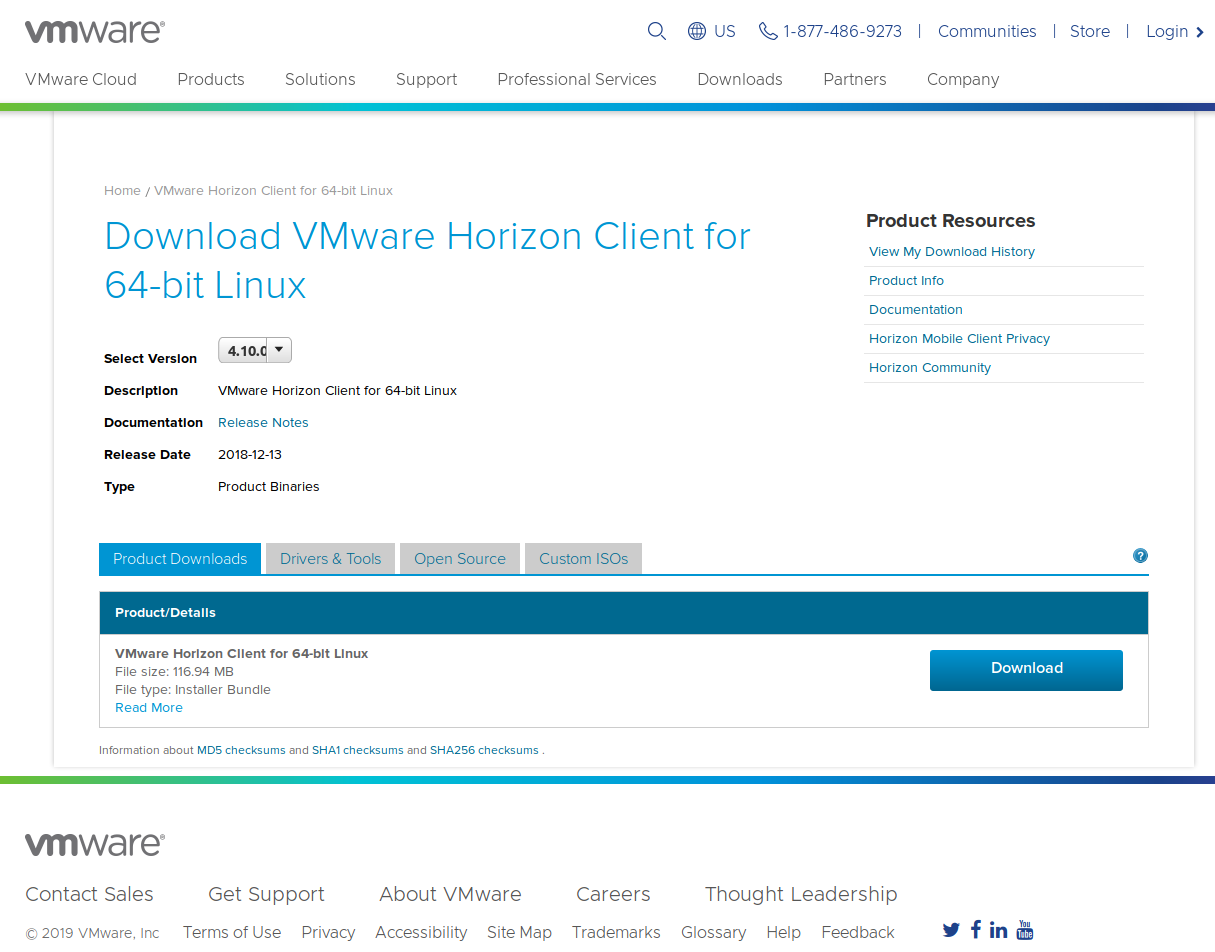
An alternative to visiting the site is to use the terminal and download the file using wget as follows:
wget https://download3.vmware.com/software/view/viewclients/CART19FQ4/VMware-Horizon-Client-4.10.0-11053294.x64.bundle
Step 2: Install VMware Horizon Client for 64-bit Linux
Now that you have downloaded the VMware Horizon Client for 64-bit Linux, proceed to install as follows:
sudo sh ./VMware-Horizon-Client-4.10.0-11053294.x64.bundle
This instruction should open the installer.
As a side note, the first time I tried to run the file it did not execute; so, an easy fix was to open the file in a text editor such as LeafPad and then close it without saving it. Then, when I executed the file once again, the installation process prompted a few confirmations and it did run and install.
Step 3: Run VMware Horizon Client for 64-bit Linux
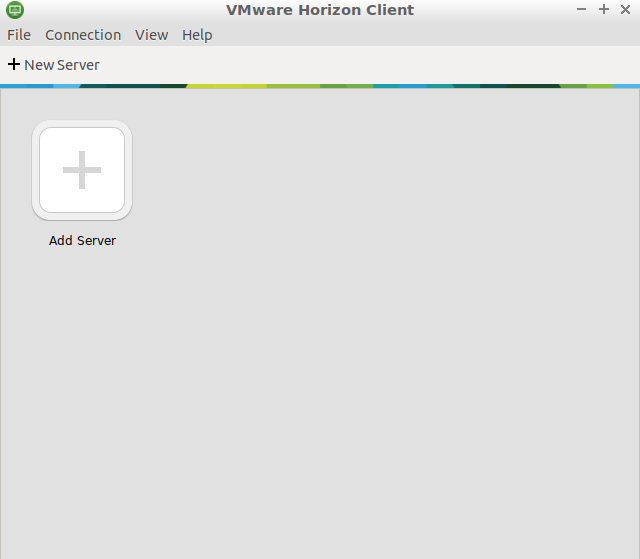
In my case, I found out that the icon install was under the Internet category on my listed system’s menu; hence I click on it and then a welcome screen came up.
An alternative to executing, from the terminal will be to execute as follows:
vmware-view %u
Step 4: Add New Server
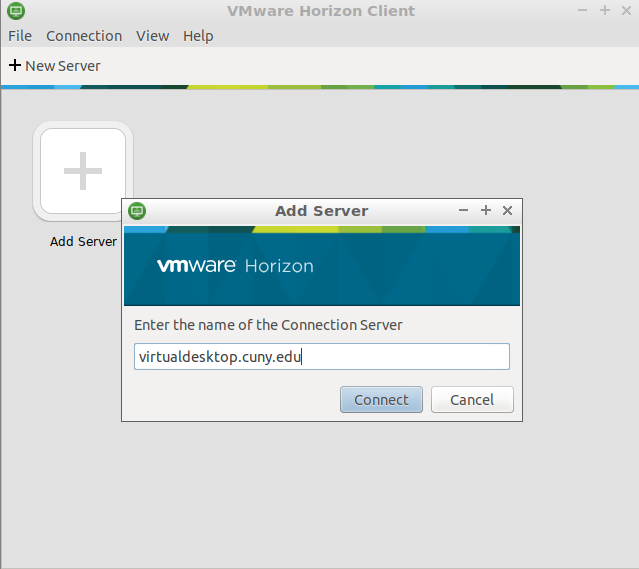
Once you got the above welcome screen, we need to add the new server. Since there are no clear indications as to how to run the virtual desktop, and I was receiving error messages from the one-click virtual desktop application from the browser, and after a while; I found out that the following will be my the server to add:
I added this server to my Linux client view, and then I hit Connect.
Step 5: Login
After I clicked Connect, a new window popup to Login.
Read the description and then click Login.
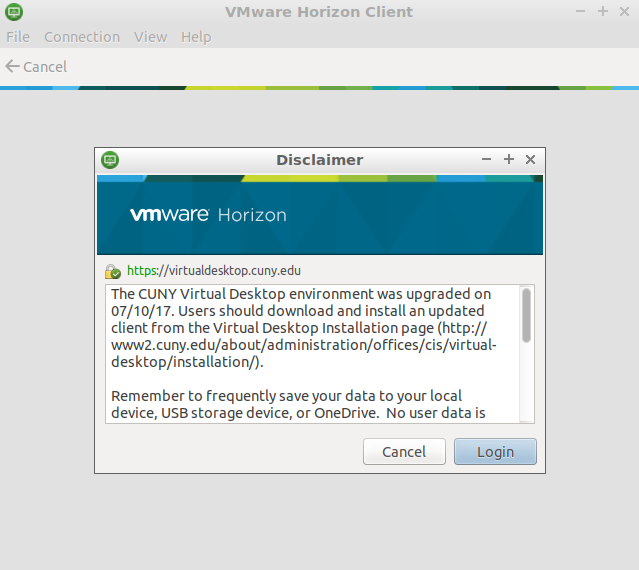
The following is their description:
The CUNY Virtual Desktop environment was upgraded on 07/10/17. Users should download and install an updated client from the Virtual Desktop Installation page (http://www2.cuny.edu/about/administration/offices/cis/virtual-desktop/installation/).
Remember to frequently save your data to your local device, USB storage device, or OneDrive. No user data is retained in the CUNY Virtual Desktop. Any unsaved data in the environment will be lost after 20 minutes of inactivity or disconnect time.
Use of the CUNY Virtual desktop is limited to 8 hours per session and is for academic purposes only. By using the CUNY Virtual Desktop, you agree to comply with the CUNY Computer Use Policy (http://www.cuny.edu/about/administration/offices/CIS/policies/ComputerUsePolicy.pdf)
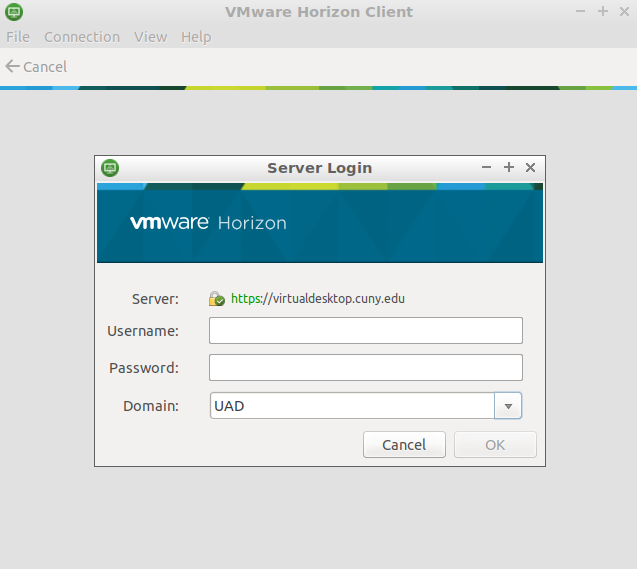
User Name & Password
In this section, you have to follow their indications very strictly as follows:
Log in using your CUNYfirst ID followed by @login.cuny.edu, and your CUNYfirst password.
Select your Virtual Desktop
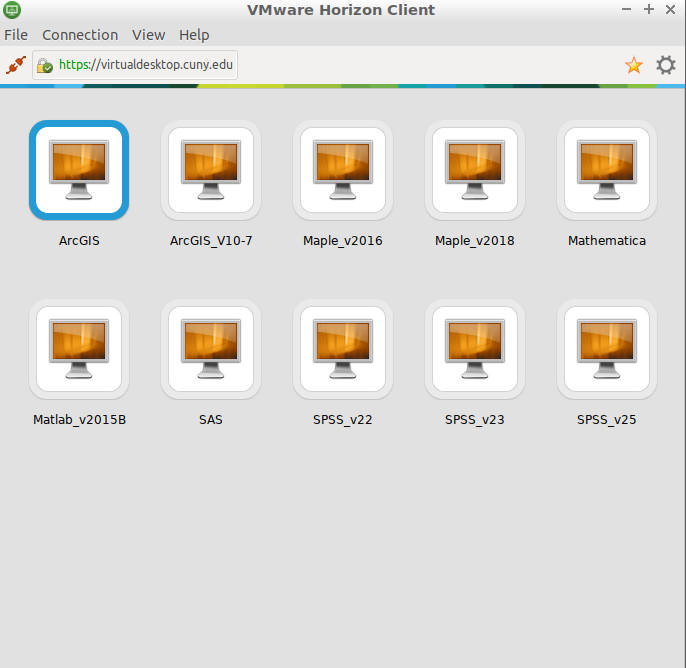
After you successfully log in, you will be greeted with a variety of Virtual Desktops. Select the one you would like to work with.
SAS Desktop Example
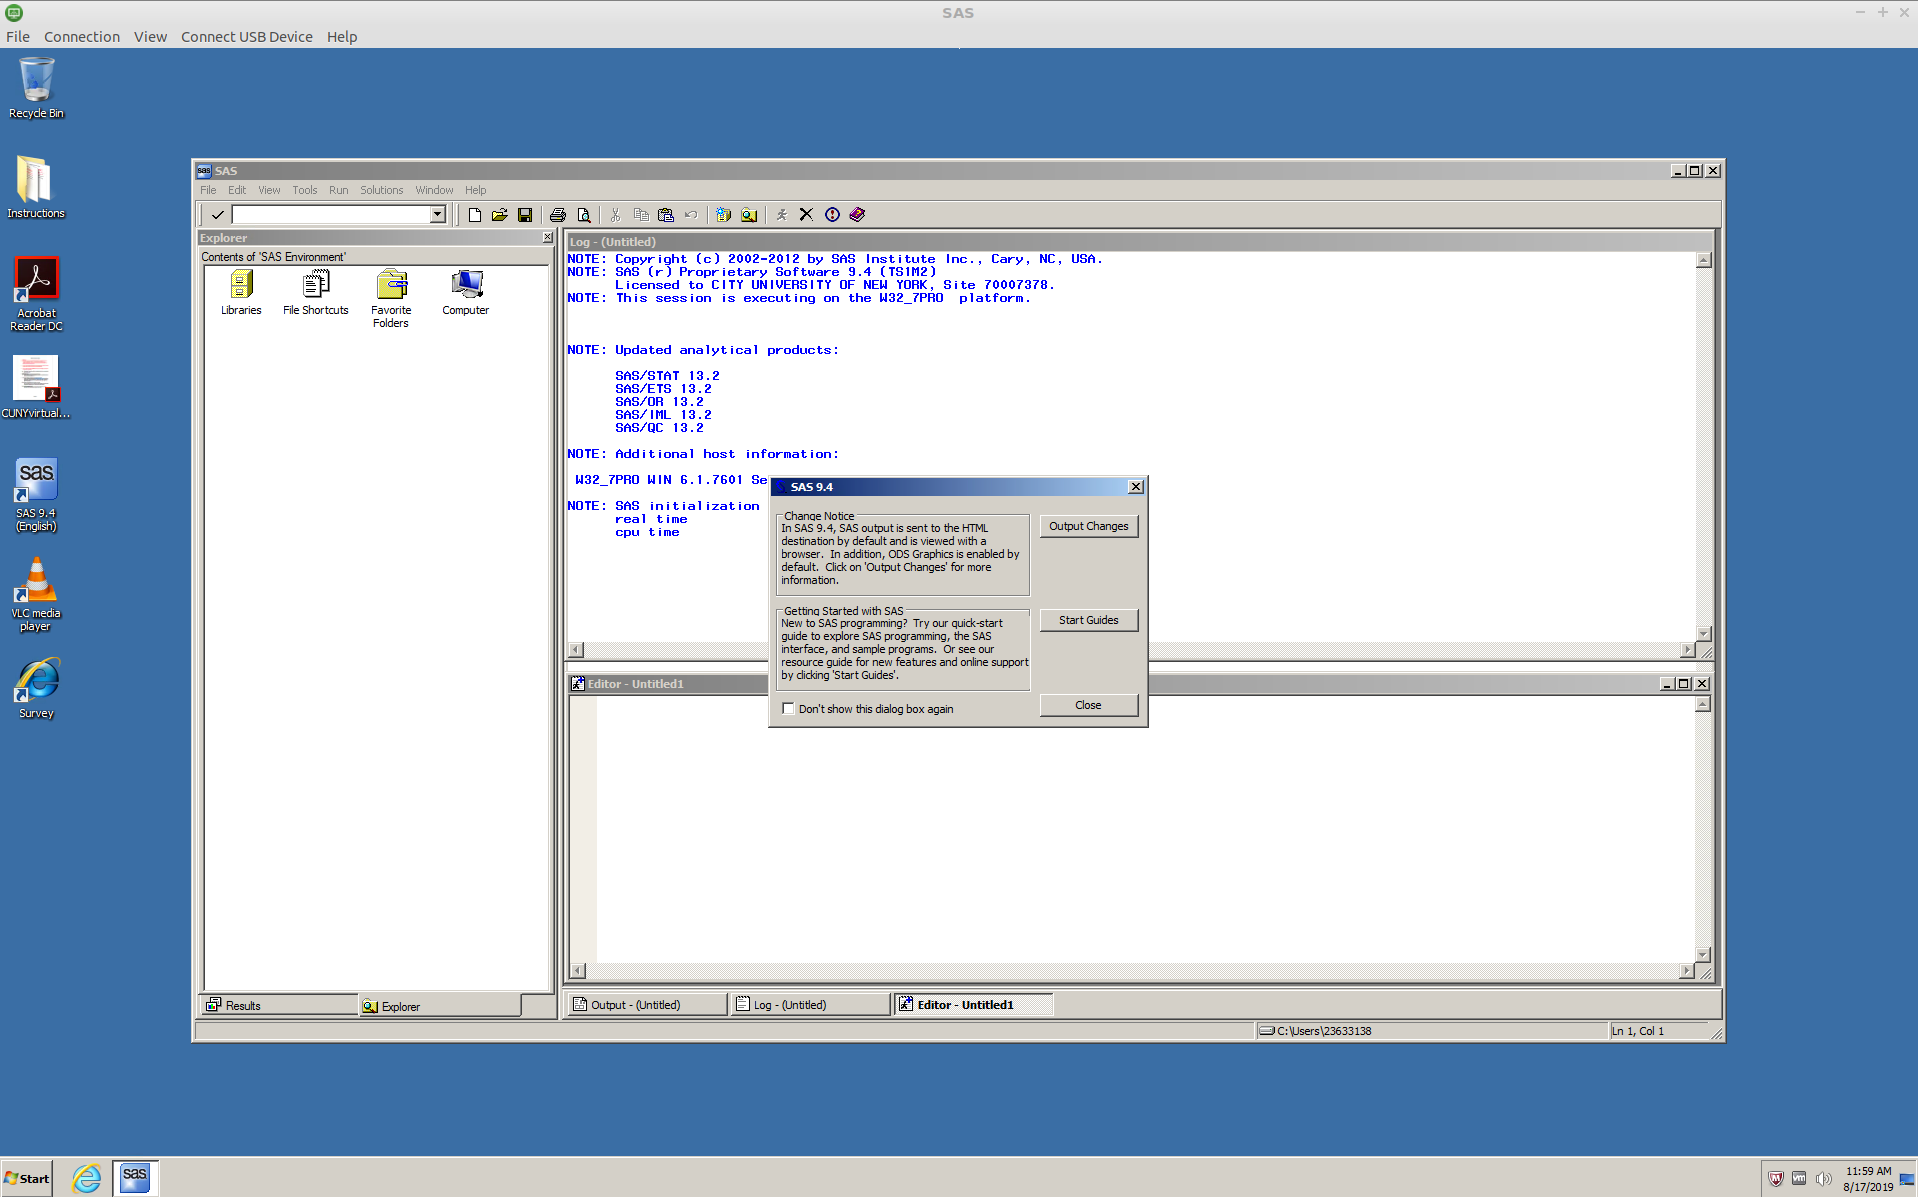
In my case, I wan to learn SAS; hence, this is a screenshot of my Windows screen.
Web Browser?
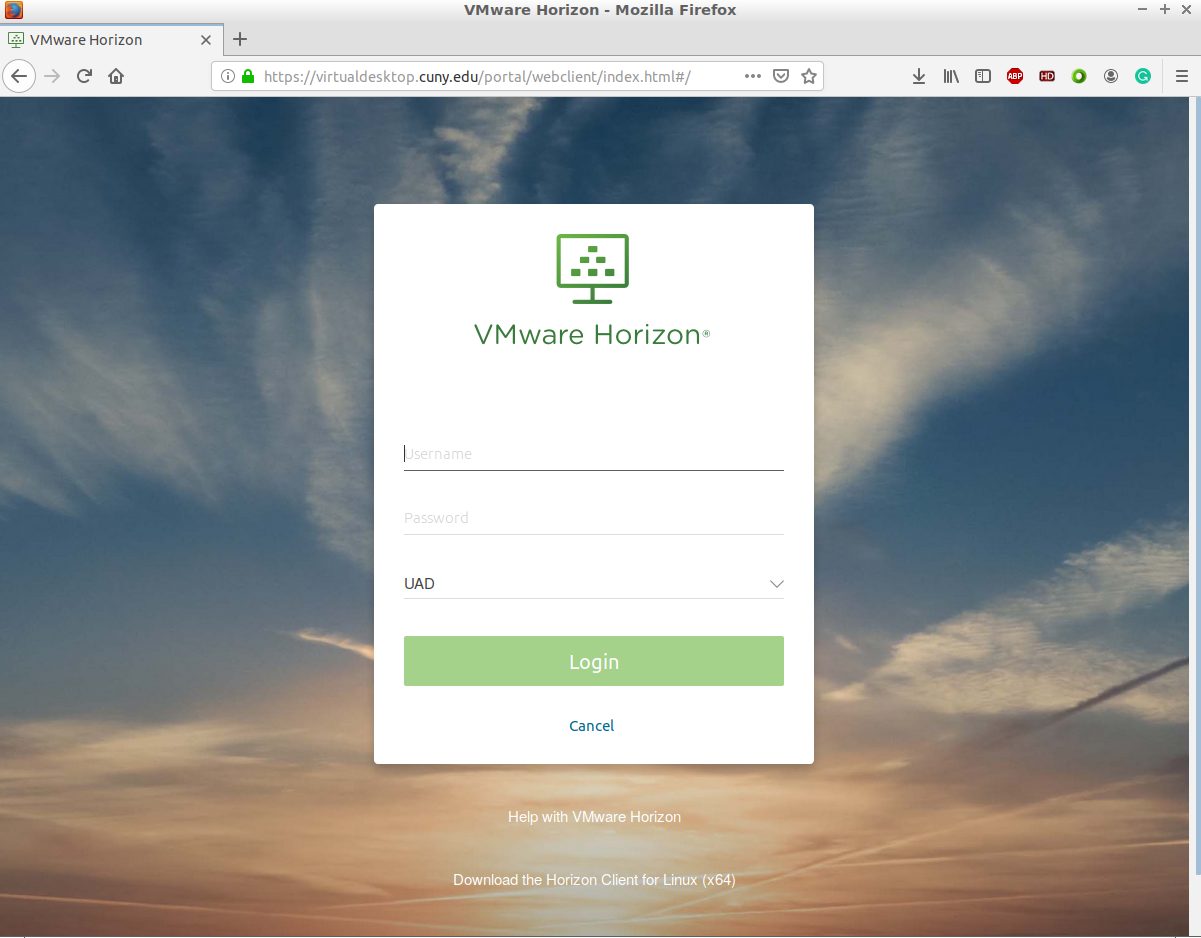
While I was trying to figure things out, I found out, that there’s a web browser connection, but while trying to log in from there, I quickly realized that these virtual environments do not run on the browser.
Important Specs
The following are some specs that are important to keep in mind.
Application versions
The application versions used in the CUNY Virtual Desktop environment are as follows:
- Maplesoft Version 2015.0
- Mathematica Version 10.2
- SAS Version 9.4
- SPSS Version 22
Equivalent PC configuration
The equivalent PC configuration of the CUNY Virtual Desktop is equivalent to working on a PC with 4GB of RAM running on an Intel Xeon 2.30GHz CPU.
Equivalent OS configuration
The CUNY Virtual Desktop runs Windows 7 Professional 64-bit.
Free Training
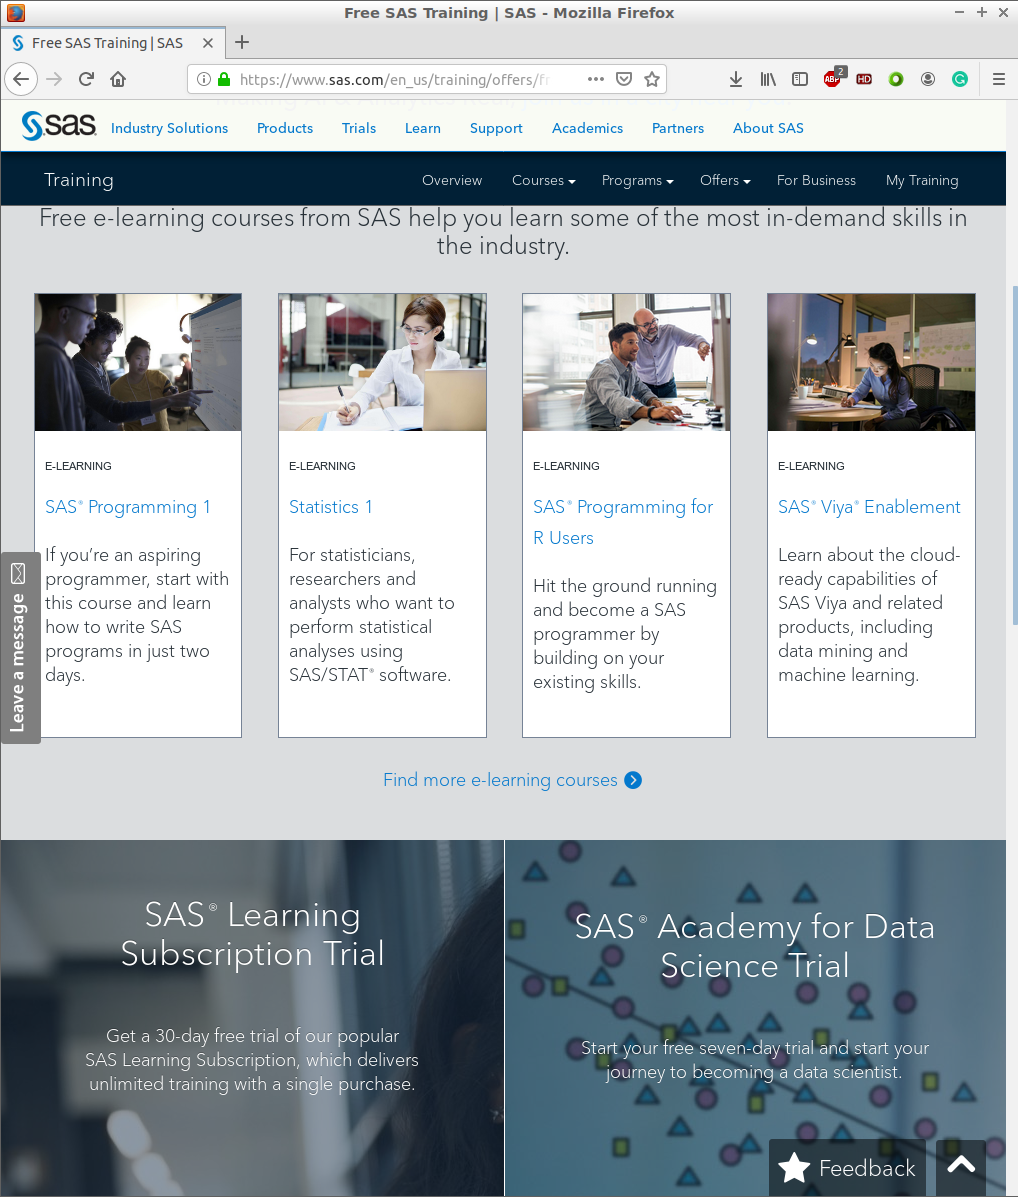
You can get a quick, easy start with SAS® online training without spending a dime; for this, visit https://www.sas.com/en_us/training/offers/free-training.html.
In my particular case, since I have experience programming in R; I picked the SAS® Programming for R Users; thus, allowing me to become a SAS programmer by building on my existing skills.
To get started, just create a profile and explore your options.
Conclusion
After performing all the above steps, I can successfully run my desired Virtual Environment with a state of the art technology.
I hope this helps some students, who would love to learn, but like me; find some challenges during the installation.
