
This time, I would like to share a small script that will transform your basic Ubuntu 18.04.1 LTS (Bionic Beaver) home server into a state of the art home server perfect to use for data science.
In reality, this setup will build a long list of applications able to perform data science and more! A summary list of packages can be seeing on this other article.
Difficulty: Super Easy.
Time consuming: About 3 to 4 hours.
Cost: Free (Open Source Licensing).
Goal: To transform your basic home server into a state of the art technological tool, able to process easy and complex processes.
Automated install? Don’t be afraid. If you follow my guide, you will be required to perform very little input; the most complicated and tedious inputs I’ve taken the liberty to automate them.
Why Lubuntu? If you would like to know why I am so thrilled about this, you can find a great article here. If you read the article you can find out that Ubuntu currently powers tomorrow’s technologies such as Artificial Intelligence, Blockchain, Autonomous Cars, and Robotics just to mention a few. I’ve picked Lubuntu to be the graphical environment due to being fast and a lightweight operating system with a clean and easy-to-use user interface. It is a Linux system that uses the minimal desktop LXDE, and a selection of light applications. Because of this, Lubuntu has very low hardware requirements. If you would like to learn more about Lubuntu, you can visit this site as well.
Requirements
-
First: Build your own home server.
-
Second: Follow this guide.
-
Third: See the packages list.
Steps to follow
If you have already installed your basic home server. Then, this is what you need to do next to automatically set up a very powerful machine with easy access and support.
Login
From the first requirement: I previously set up my user name to be administrator; so I will type administrator and then press Enter. After that, the system will ask for a password. I previously defined my password to be mysupersecretpassword. So, I will type it and press Enter.
In your case, you probably used a different user name and password and you probably wrote them in your notebook, please look into your notebook and type in your terminal.
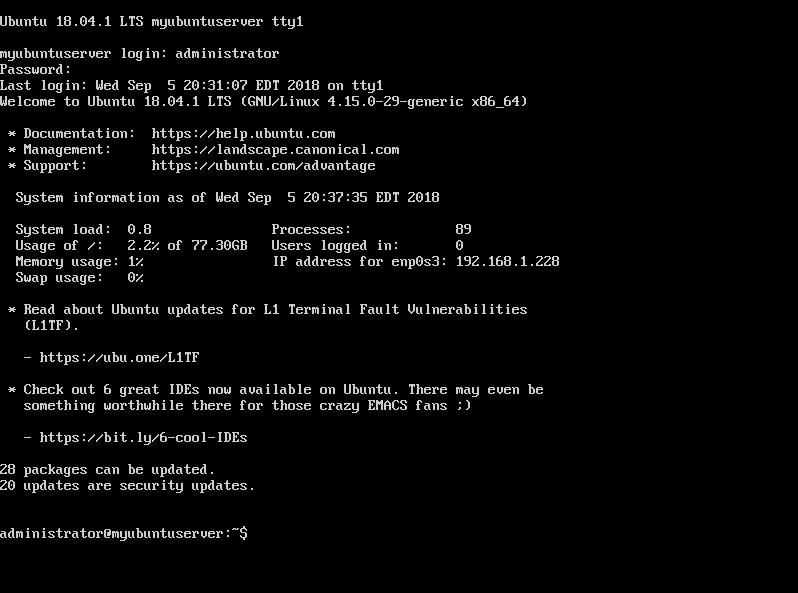
On this window, you will be presented a summary of system resources such as the network IP address, the capacity, and usage of the hard drive and memory usage; those values will change depending on your system.
After you type your user name and password, your screen should look like the one above, if you provided different names during your installation, you will see your given server name and user name. Also, this window will provide some system information related to your new server.
What is terminal?
From now on, we will refer to this ‘black window’ as terminal. I will not explain much on this article about it since it will require a few technicalities that are beyond the current scope. At this point, there’s no need to worry about it.
Execute the automated script
In the terminal, type the following commands in that order:
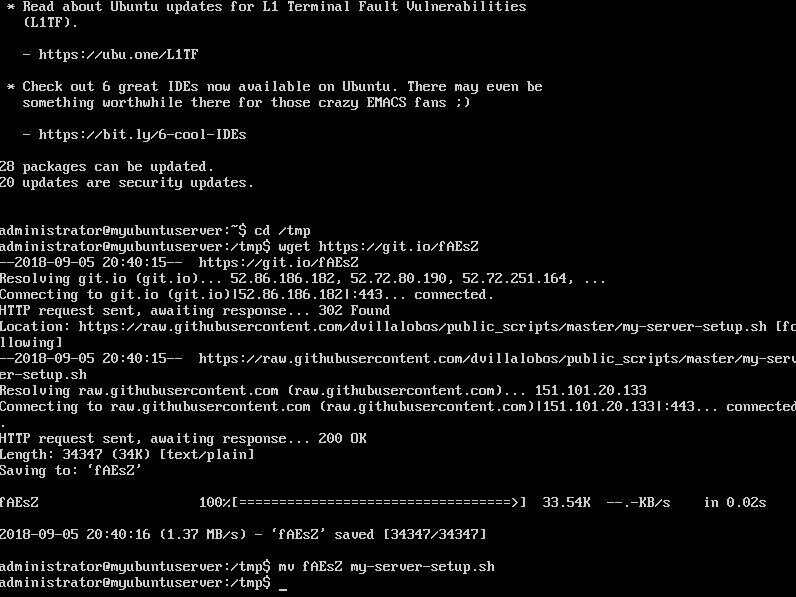
Step 1: Access temporary folder
Type as follows and press Enter.
cd /tmp

Step 2: Download automated script
For this to work, I have already put together a script in my Github repository. To download it, you need to type as follows and press Enter.
wget https://git.io/fAEsZ
Please make sure to type upper cases, lower cases, and numbers. In this particular case, there’s an f and s in lower case.

Step 3: Rename the automated script
For this to work, we need to rename the script. We will rename it using this particular name my-server-setup.sh. Please type as follows and press Enter.
mv fAEsZ my-server-setup.sh
Please make sure to type upper cases, lower cases, and numbers. In this particular case, there’s an f and s in lower case.
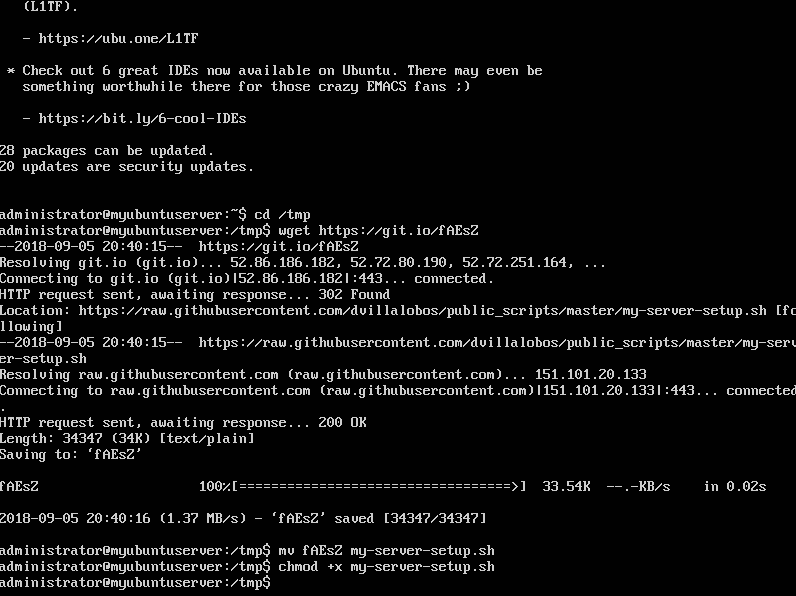
Step 4: Make the automated script executable
For this to work, we need to make my-server-setup.sh executable. To do so, type as follows and press Enter.
chmod +x my-server-setup.sh
Step 5: Execute the automated script
Now, we are ready to install everything we need. To do so, type as follows and press Enter.
./my-server-setup.sh
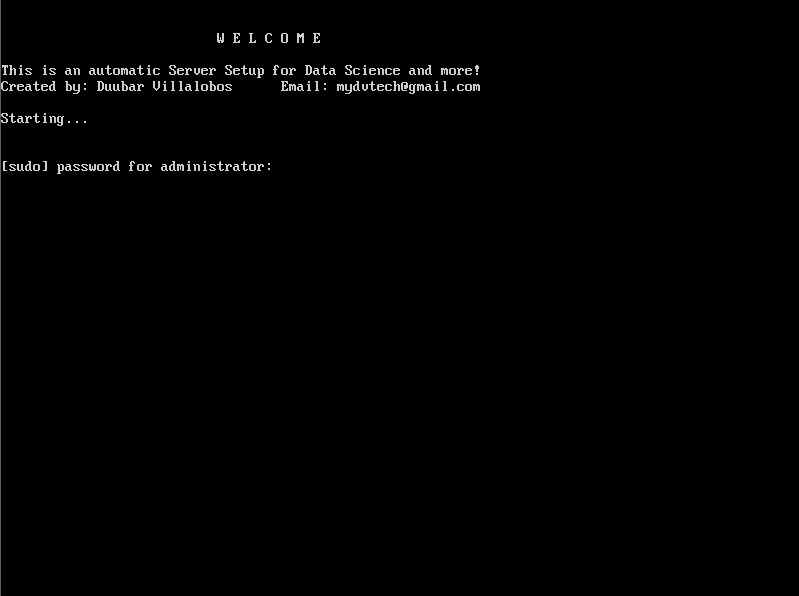
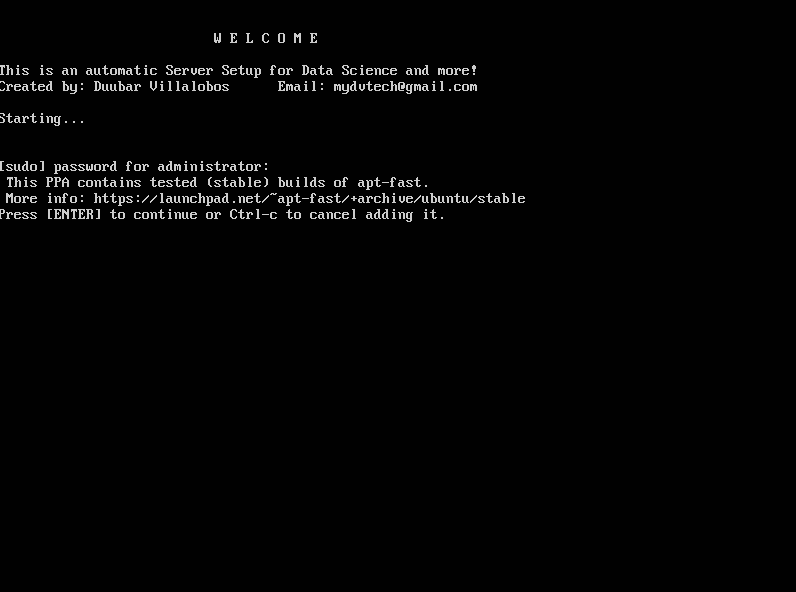
If you get this screen, it means you followed all previous steps accordingly. If you did not, go back and repeat, it means that one or more of the steps were not properly followed.
Step 6: Follow the prompts
The first thing to do at this point is to type your super-secret password. In my case, my password is mysupersecretpassword; check your notebook and type your password. Once you type your password, press Enter to continue.
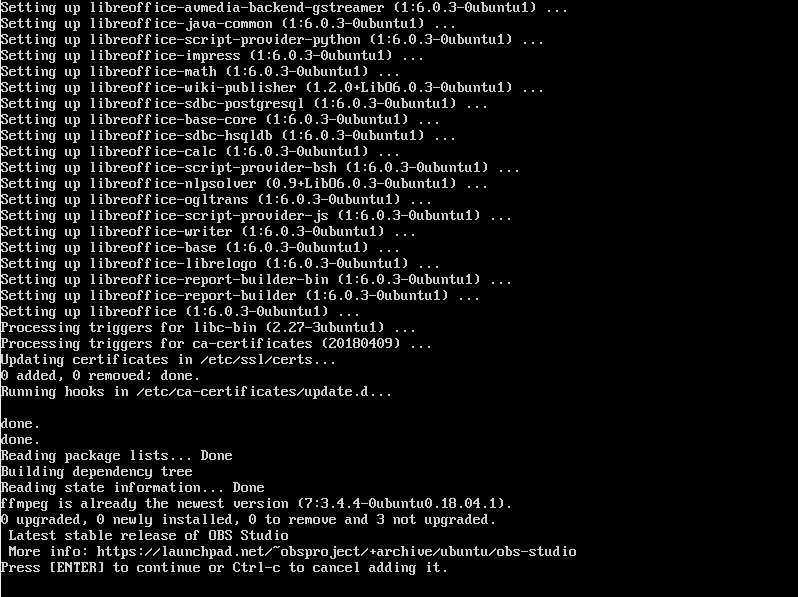
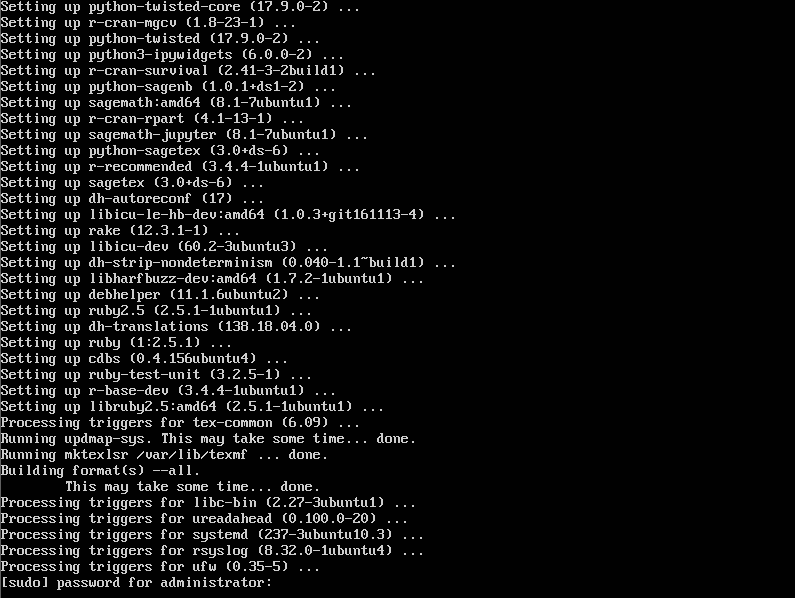
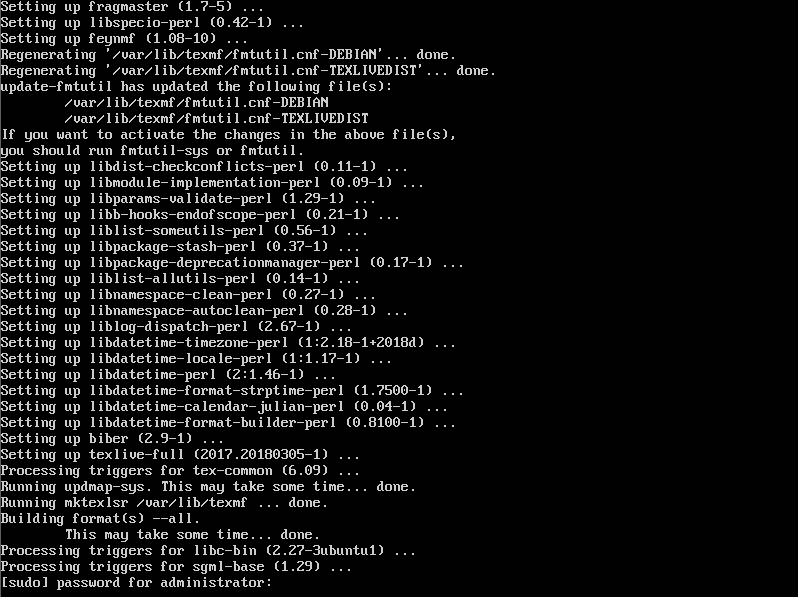
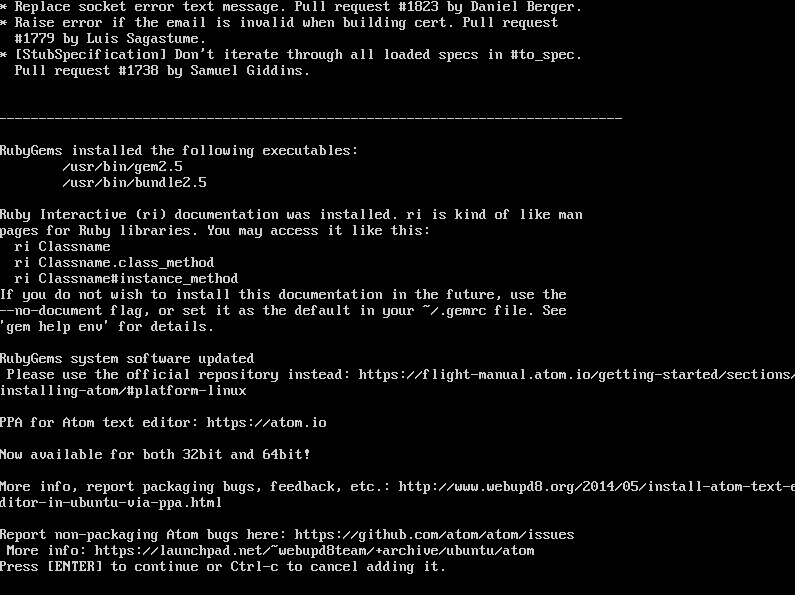
After that, you will see a lot of letters coming up the screen. Don’t be afraid, this is just the output of the processes taking care.
From time to time, you will be required to enter some information; don’t be afraid, I am here to guide you. Below are the screenshots and indications on what to do when that time arises.
Notification
To continue, press Enter.
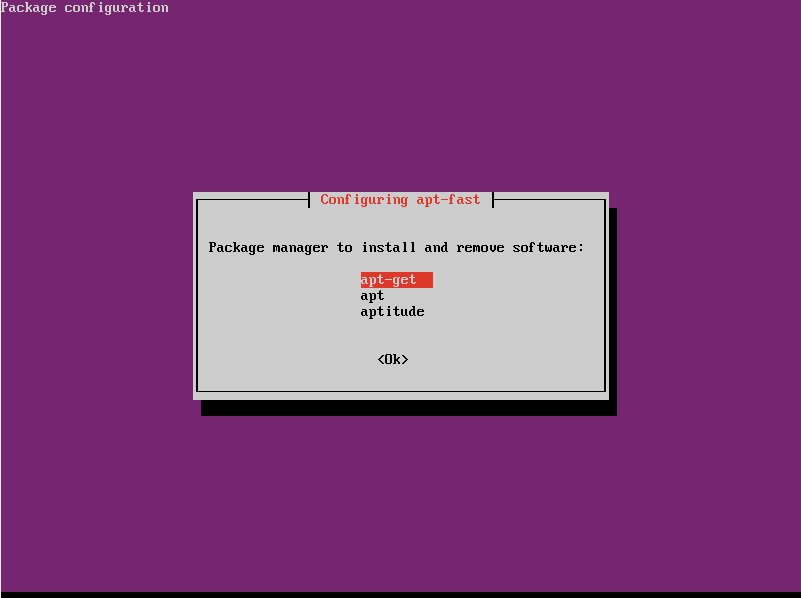
Select apt-get
To continue, press Enter.
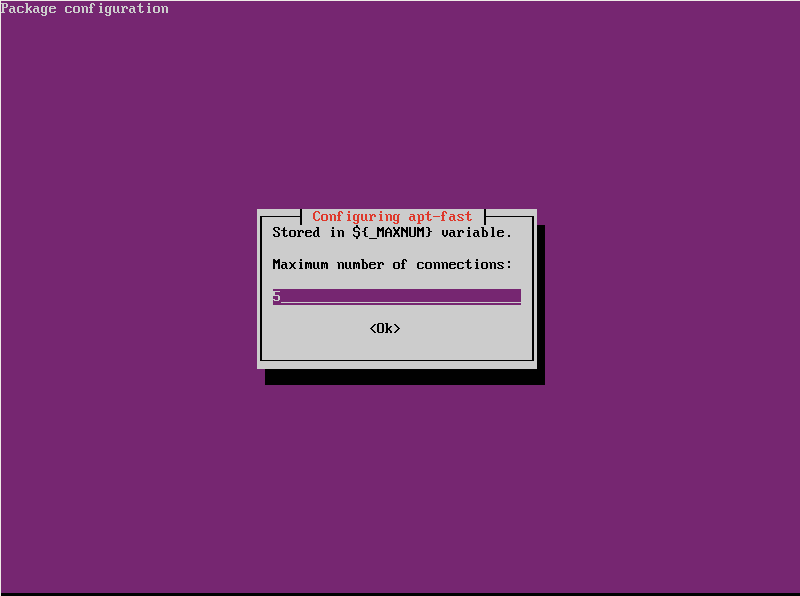
apt-fast Configuration
To continue, press Enter.
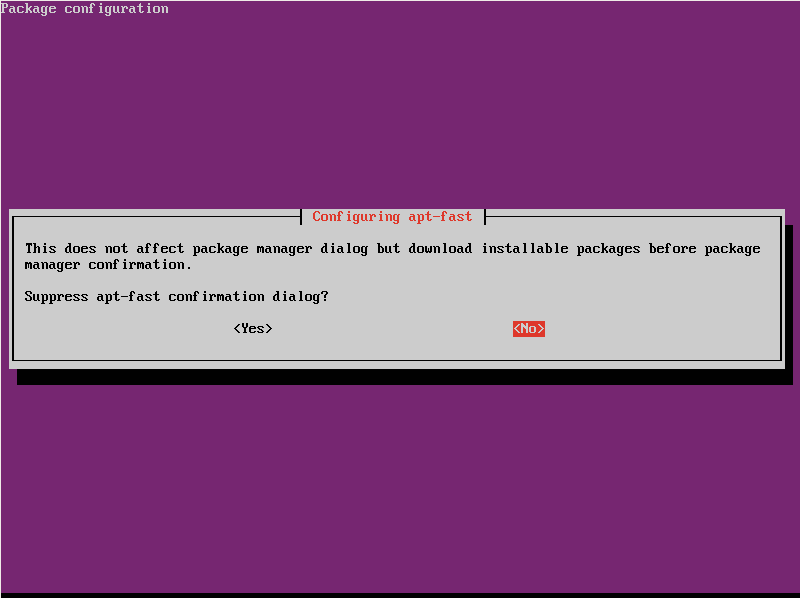
apt-fast Configuration
To continue, press Enter.
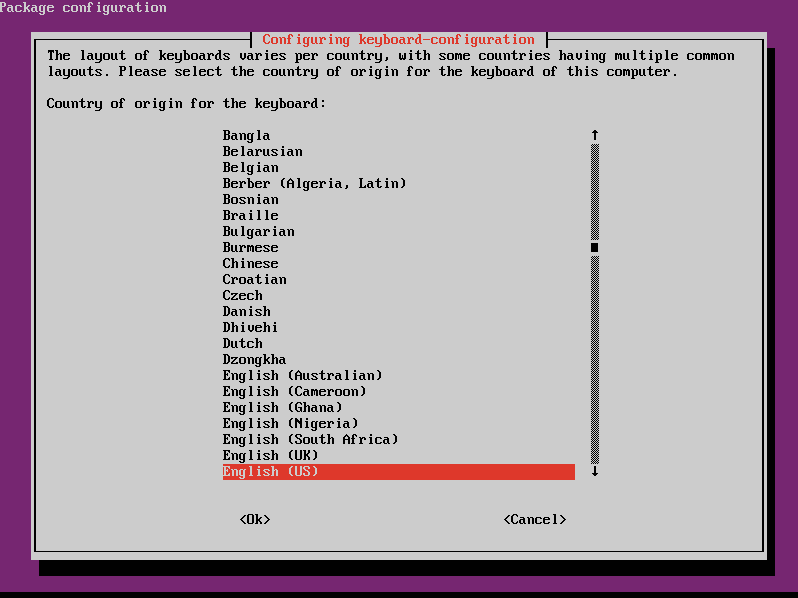
Keyboard Configuration
To continue, press Enter or select the one that matches your needs and press Enter.
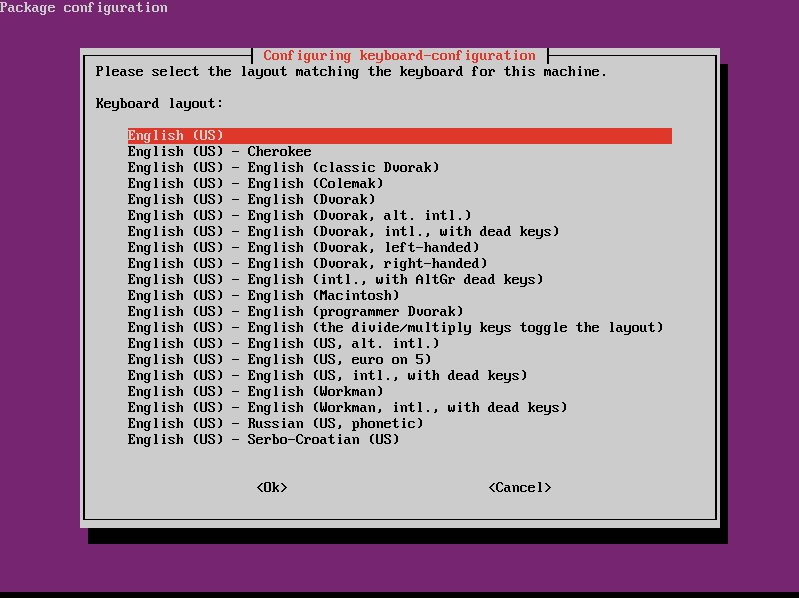
Keyboard Layout
To continue, press Enter or select the one that matches your needs and press Enter.
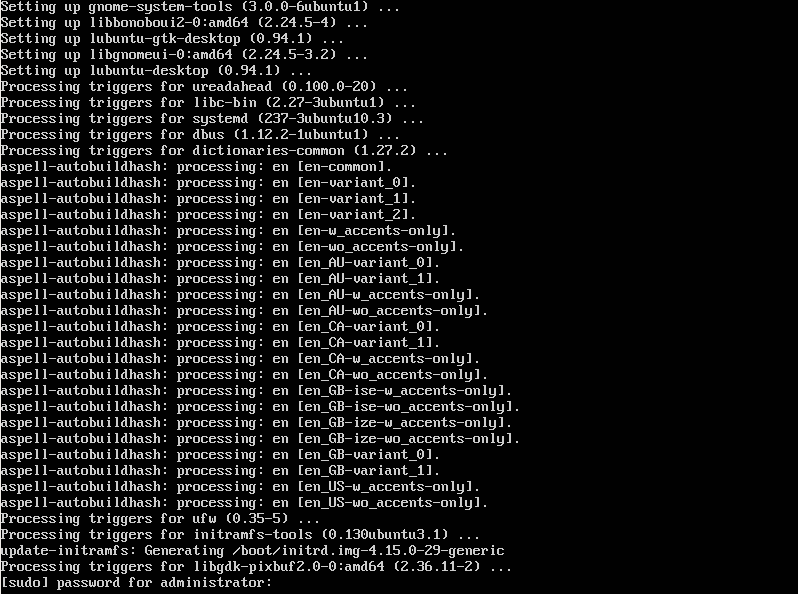
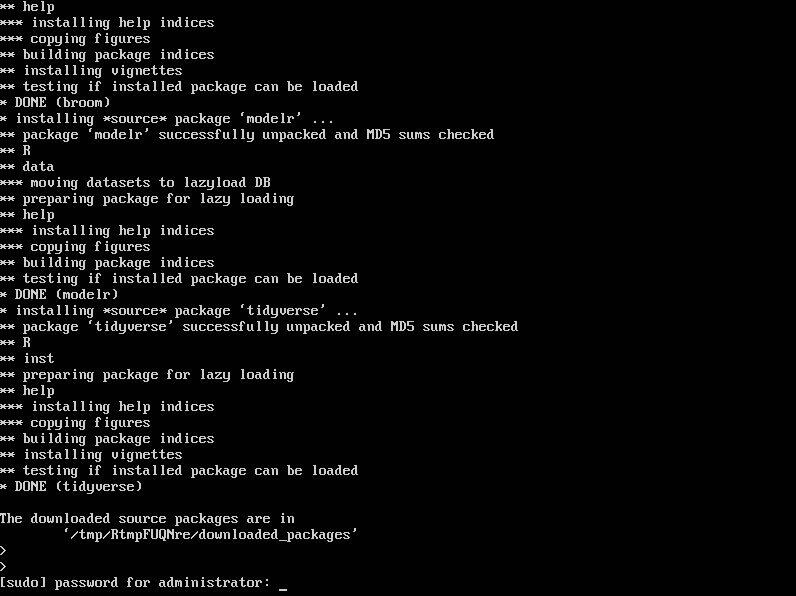
Type your password
After, about 1 hour of the installation process, the system will require that you type your password once again.
To continue, type your super-secret password and press Enter. If you don’t remember, check your notebook.
In my case, my password is mysupersecretpassword.
Configure ttf-mscorefonts
To continue, press Tab or the Right arrow key, in order get <Ok> red and then and press Enter.
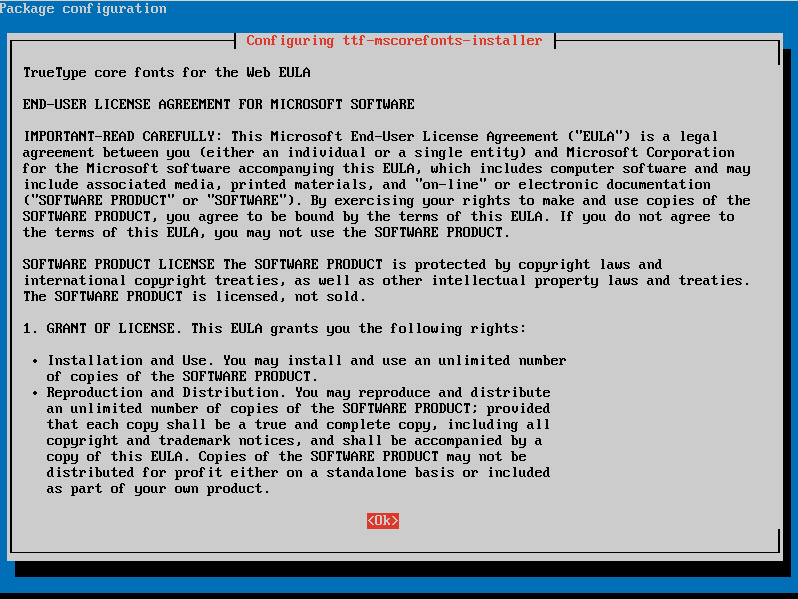
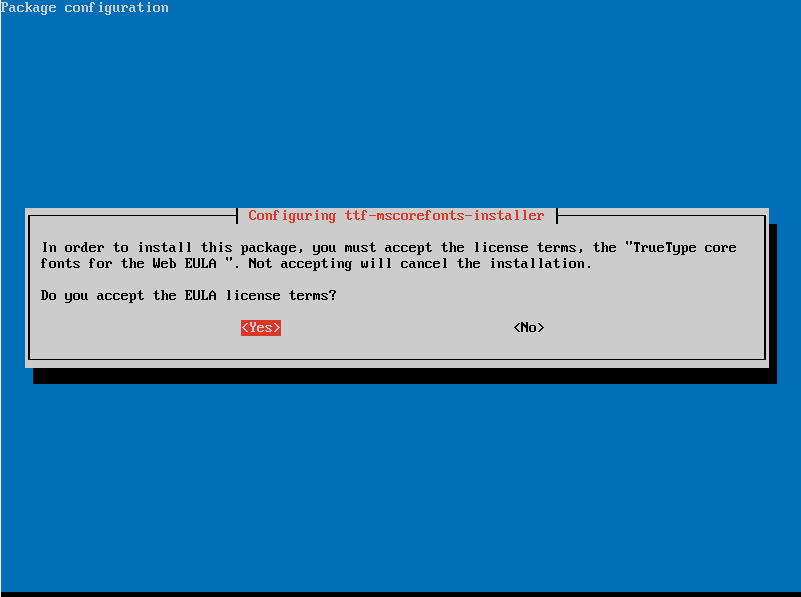
Accept EULA
To continue, press Tab or the Left arrow key, in order get <Yes> red and then and press Enter.
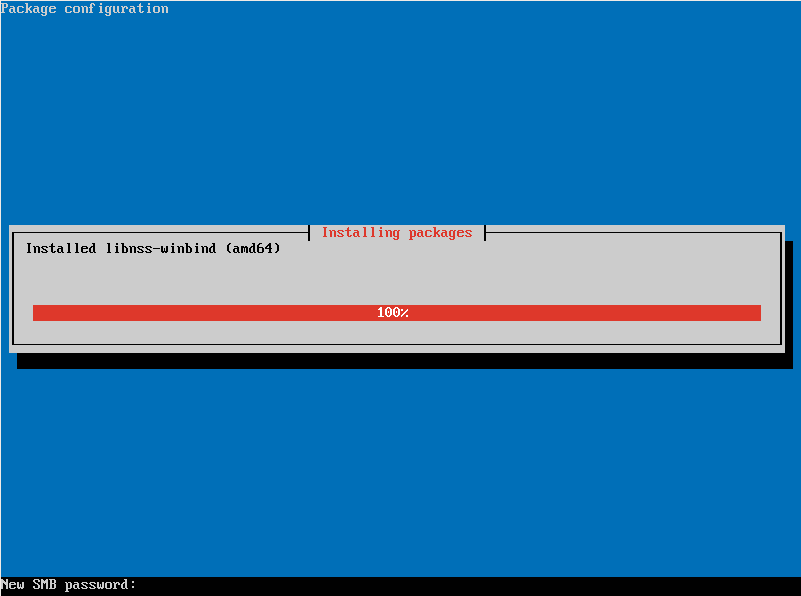
New SMB Password
This password is for you Samba Server. Thanks to Samba, you will be able to access files stored in your home server when you are connected in your home network in a different laptop, tablet or computer.
To continue and keep uniformity, type your current super secret password and press Enter. If you don’t remember your password, look into your notebook. In my case, my password is mysupersecretpassword.
I will recommend you to add this password into your notebook as Samba Password. Your Samba user name is the original username you provided; in my case is administrator.
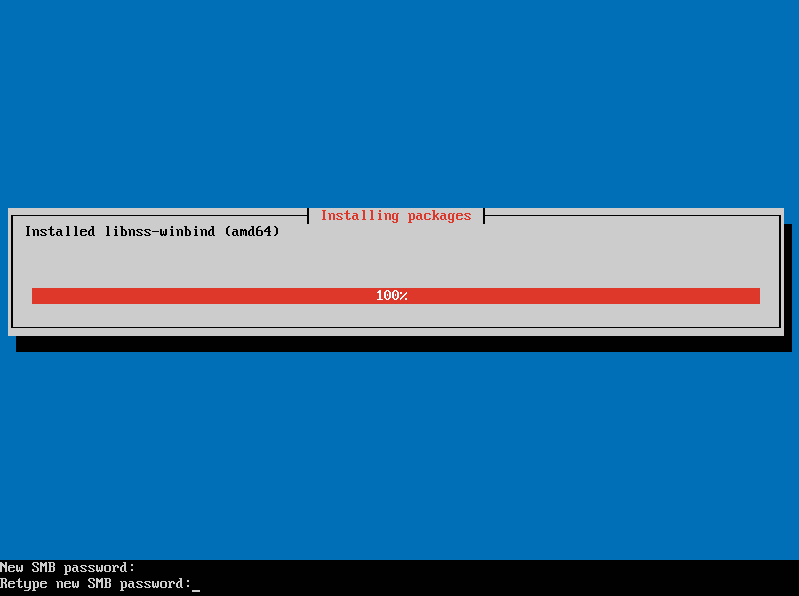
Retype SMB Password
This password is for you Samba Server confirmation.
To continue and keep uniformity, confirm your current super secret password and press Enter. If you don’t remember your password, look into your notebook. In my case, my password is mysupersecretpassword.
Press Enter
To continue, press Enter.
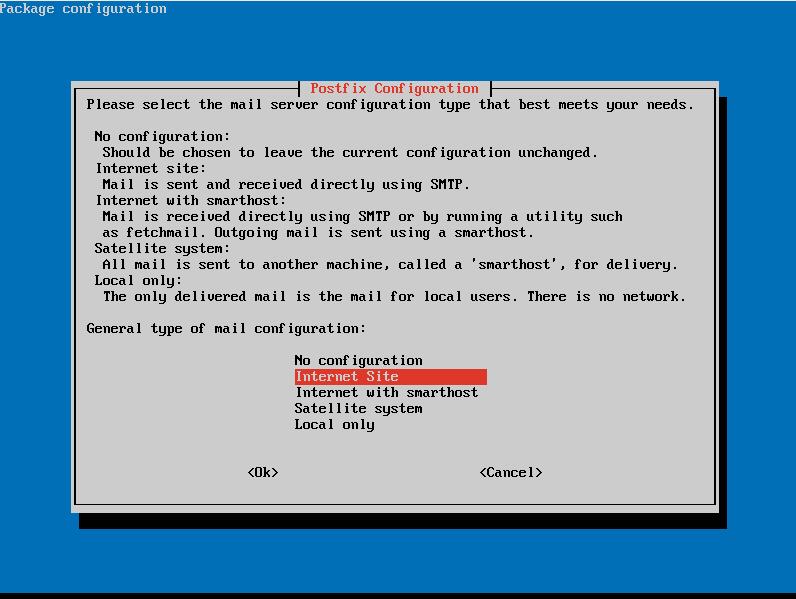
Postfix Configuration
To continue, press Enter.
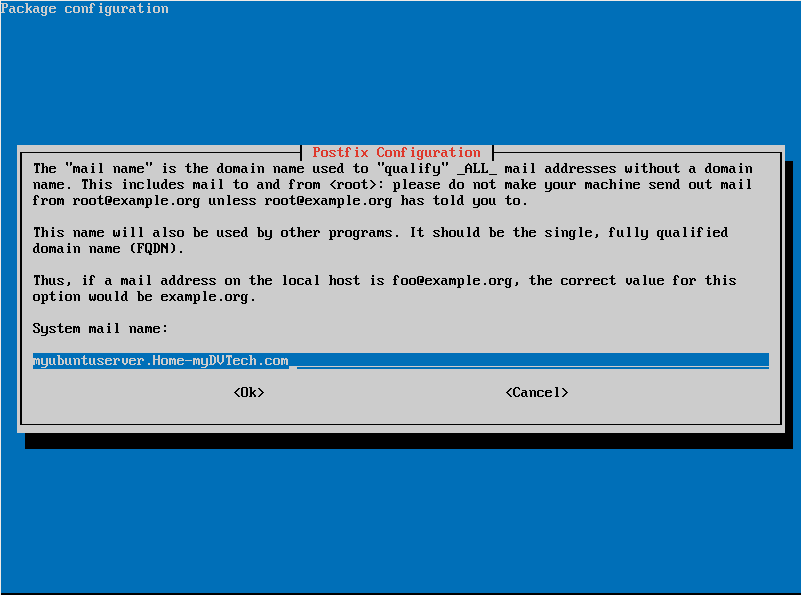
System Mail Name
To continue, press Enter.
I will recommend you to write this name down in your notebook for future reference in case you need it. Create a section named Mail System and write this information down.
Type your password
To continue, type your super-secret password and press Enter. If you don’t remember your password, look into your notebook. In my case, my password is mysupersecretpassword.
Type your password
After a while, once again to continue, type your super-secret password and press Enter. If you don’t remember your password, look into your notebook. In my case, my password is mysupersecretpassword.
Press Enter
After a while, to continue, press Enter.
Type your password
After a while, once again to continue, type your super-secret password and press Enter. If you don’t remember your password, look into your notebook. In my case, my password is mysupersecretpassword.
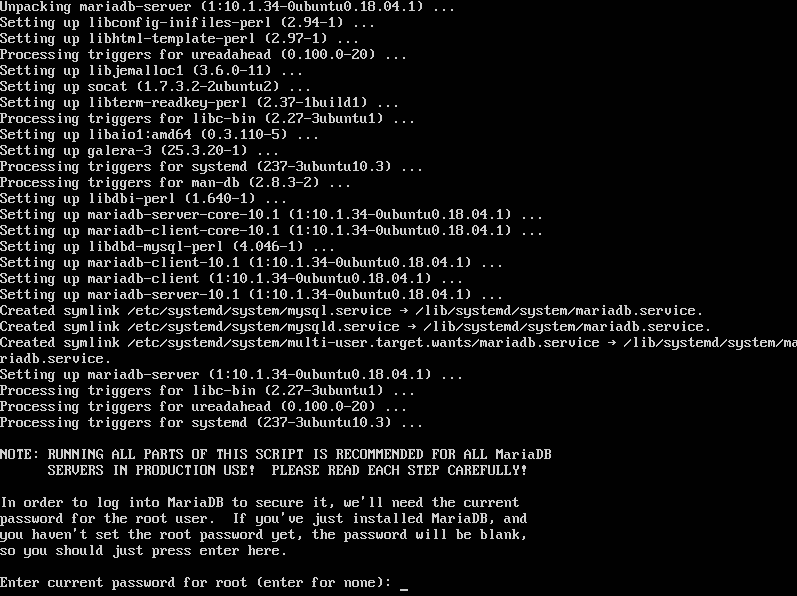
MariaDB Setup: Press Enter
We are going to set up MariaDB. MariaDB is a relational database; if you would like to read about it, you can find some valuable information here.
In order to continue, just press Enter.
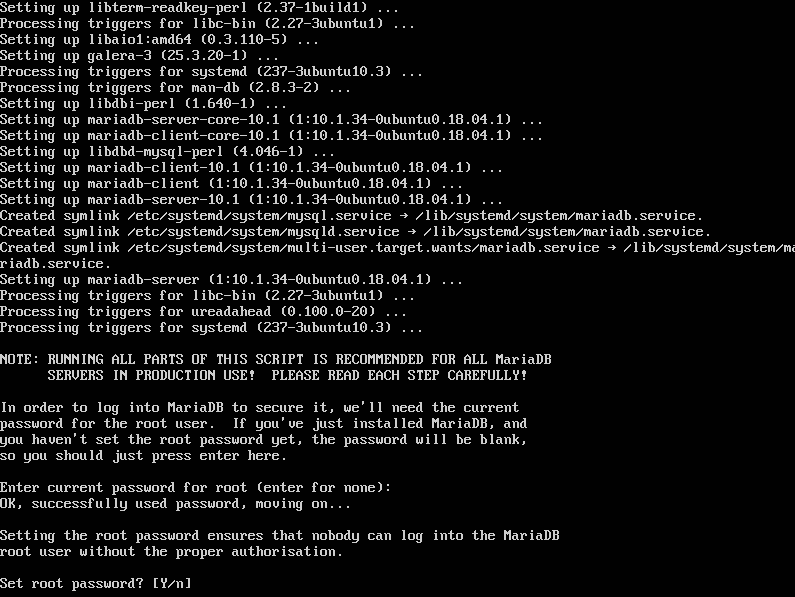
MariaDB Setup: Press Y
To continue, from your keyboard first press Y and then press Enter.
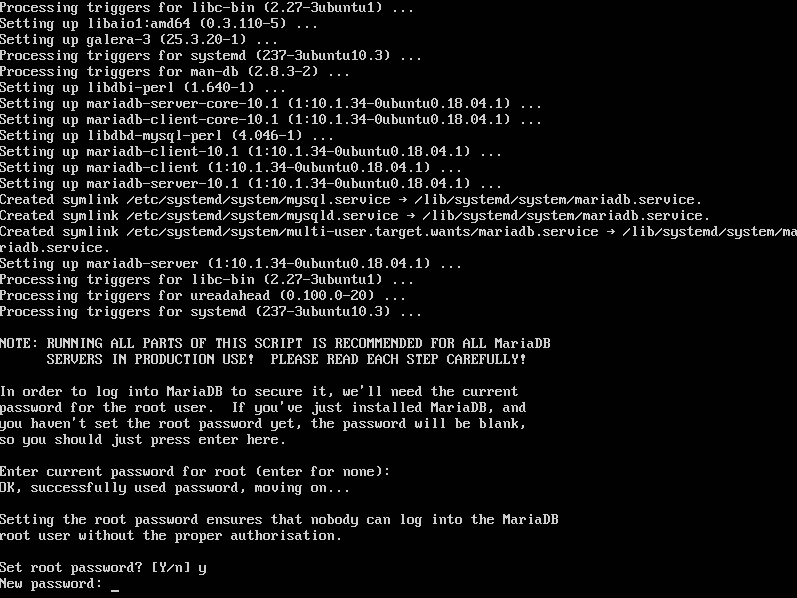
MariaDB Setup: Type your password
To continue, from your keyboard type your super-secret password and then Enter.
If you don’t remember, check your notebook. In my case, my password is mysupersecretpassword.
Also, I will recommend you to make a new section on your notebook as follows:
Title: MariaDB
User: root
Password: your super-secret password. In my case mysupersecretpassword.
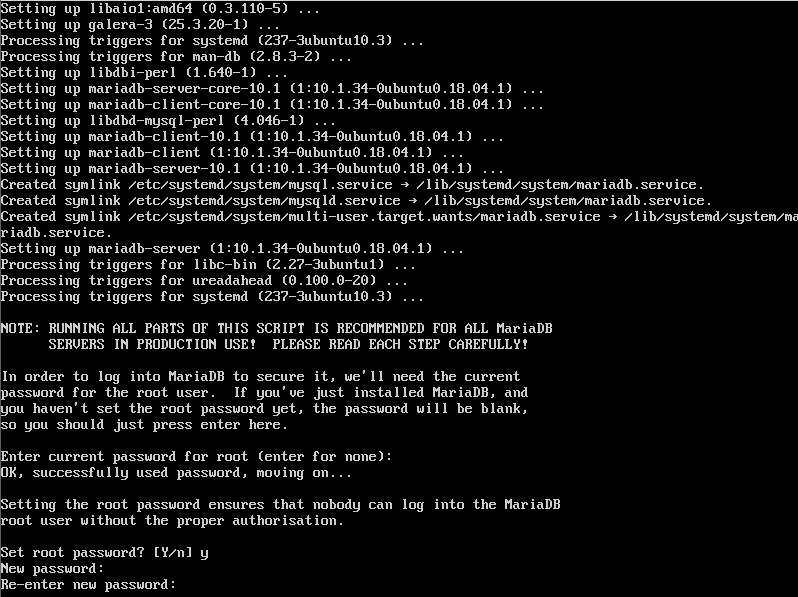
MariaDB Setup: Re-type your password
To continue, from your keyboard re-type your super-secret password one more time and then press Enter.
In my case, I will re-type mysupersecretpassword.
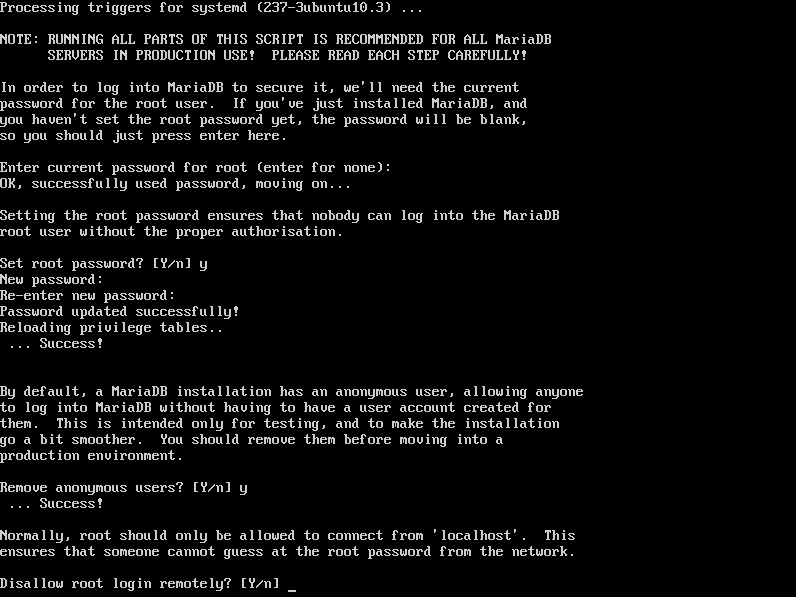
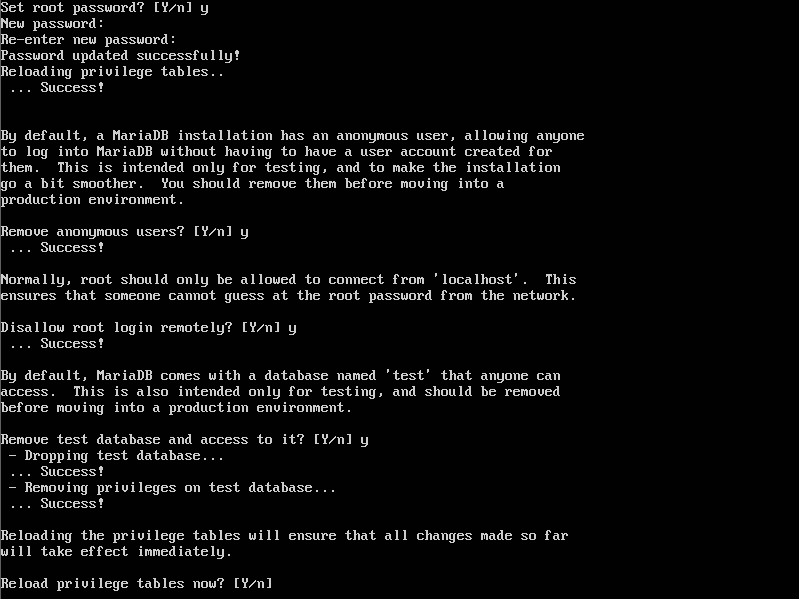
MariaDB Setup: Press Y
To continue, from your keyboard first press Y and then press Enter.
There’s no reason to leave anonymous users access; this is for security reasons.

MariaDB Setup: Press Y
To continue, from your keyboard first press Y and then press Enter.
For security reasons, is better to disallow remote login.
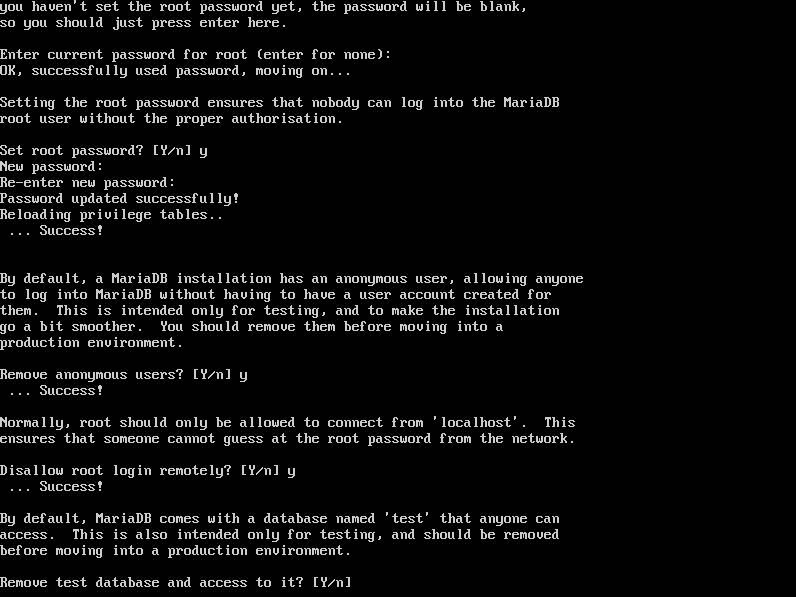
MariaDB Setup: Press Y
To continue, from your keyboard first press Y and then press Enter.
Since there’s no need to keep the test database, we will remove it.
MariaDB Setup: Press Y
To continue, from your keyboard first press Y and then press Enter.
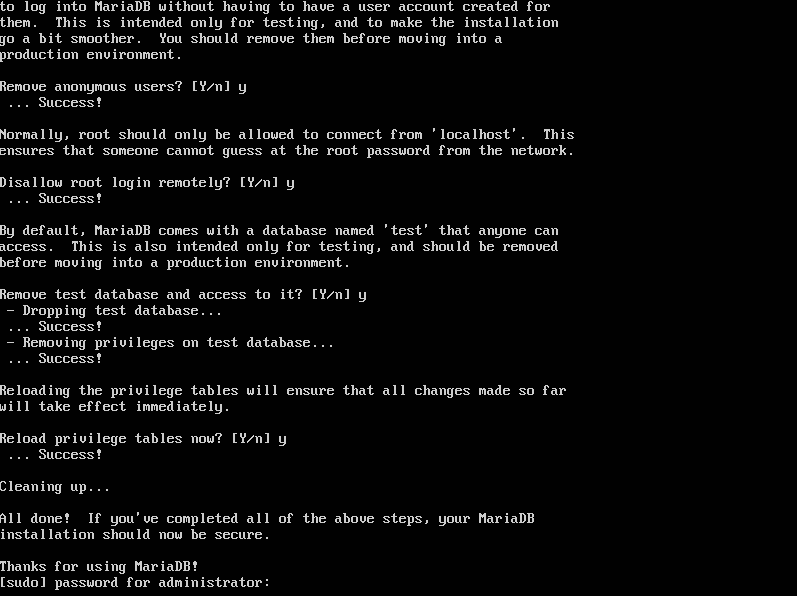
It’s a good idea to reload the new privileges.
Type your password
Once again if asked, to continue, type your super-secret password and press Enter. If you don’t remember your password, look into your notebook. In my case, my password is mysupersecretpassword.
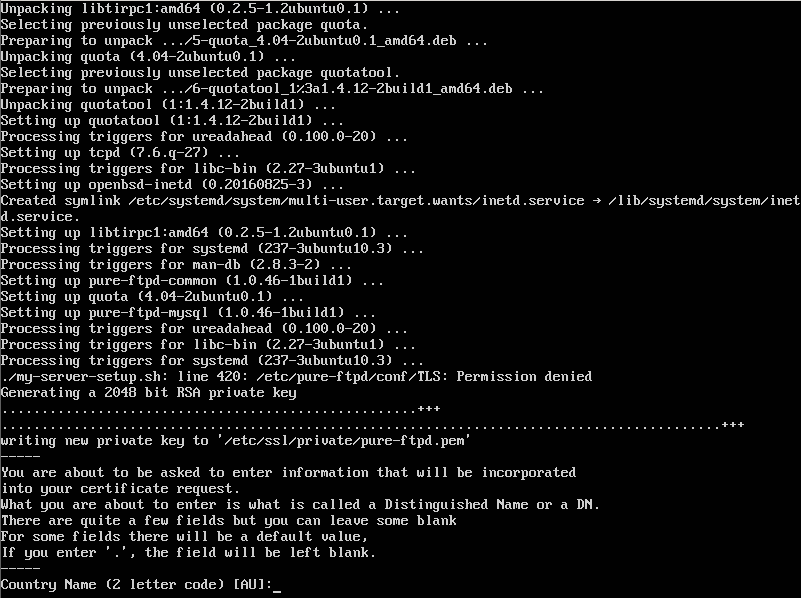
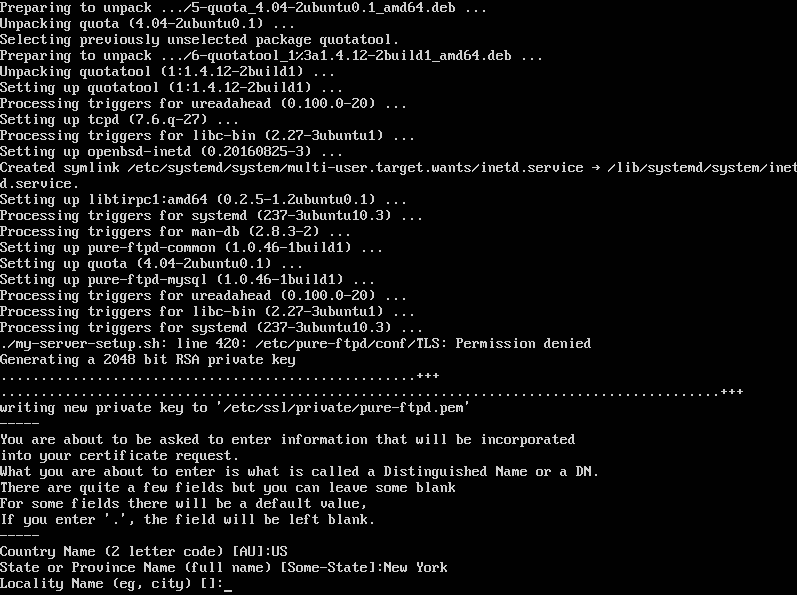
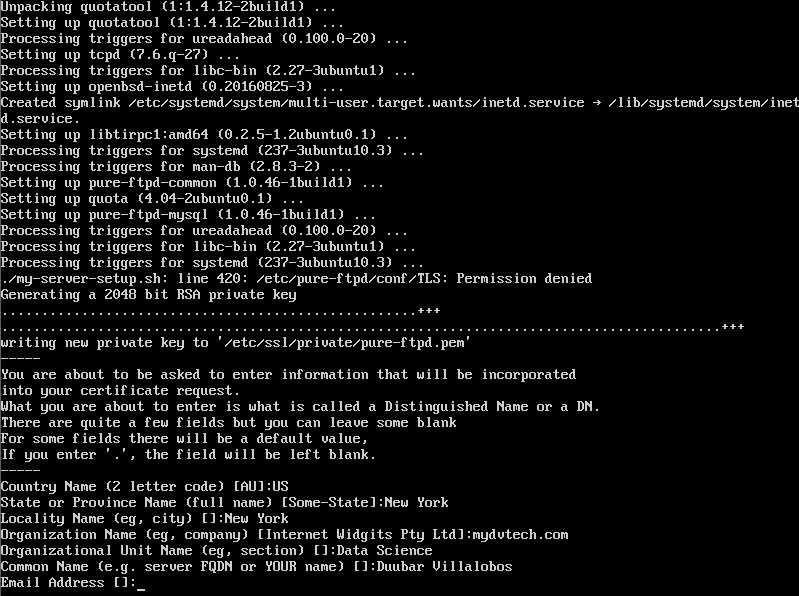
Type your Country initials
In this window, type your 2 letter Country name and press Enter. If you need to find your 2 letter Country name, you can check the list here. Country Codes are required when creating a Certificate Signing Request.
In my case, it is US.
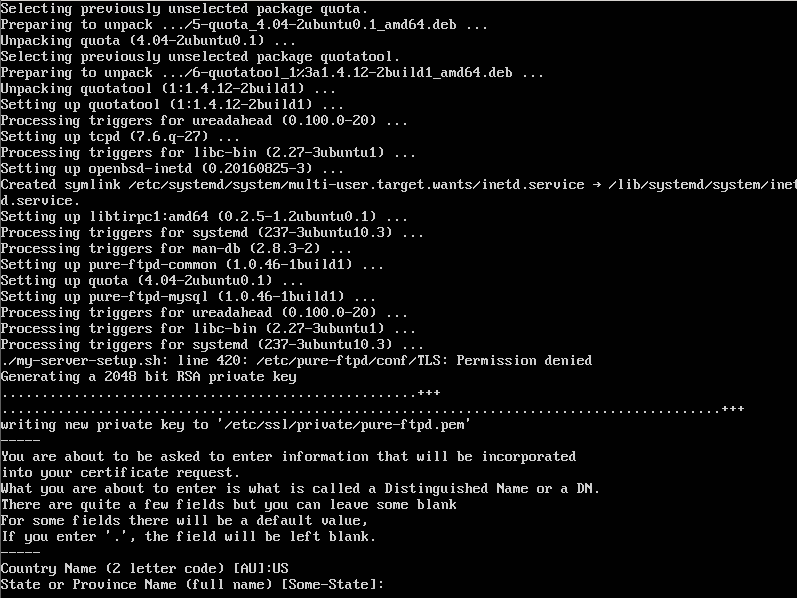
Type your State or Province name
In this window, type your State or Province name and press Enter. In my case, it is New York.
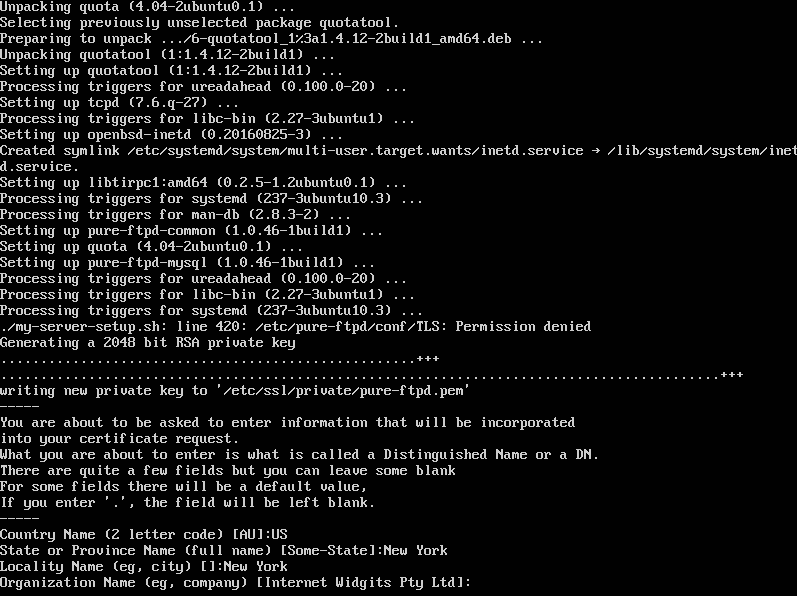
Type your Locality name
In this window, type your city name and press Enter. In my case, it is New York.
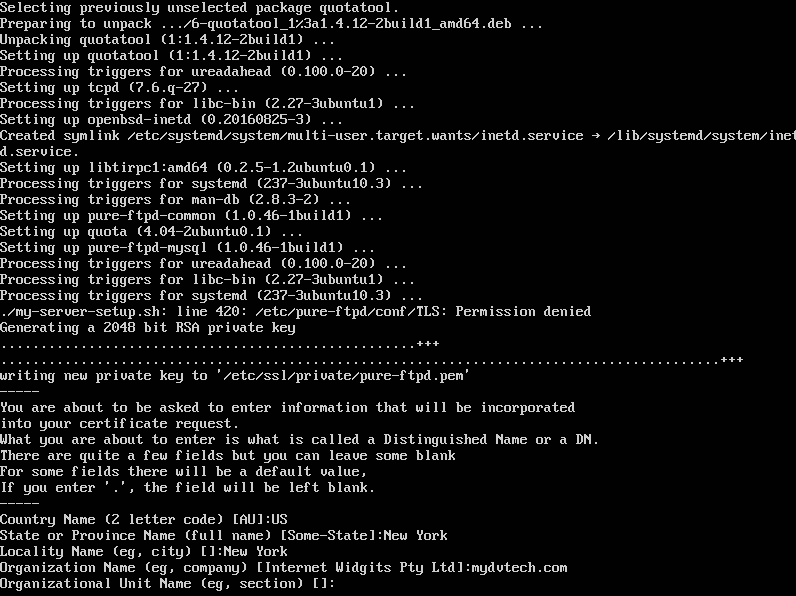
Type your Organization name
In this window, type your organization name and press Enter. In my case, it is mydvtech.com.
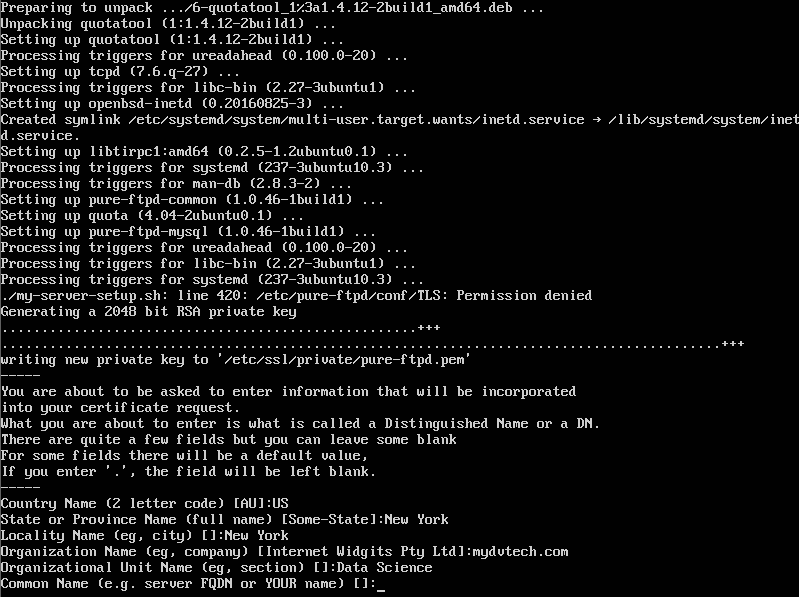
Type your Unit name
In this window, type your unit name and press Enter. In my case, it is Data Science.
Type your Common name
In this window, type your common name and press Enter. In my case, it is Duubar Villalobos.
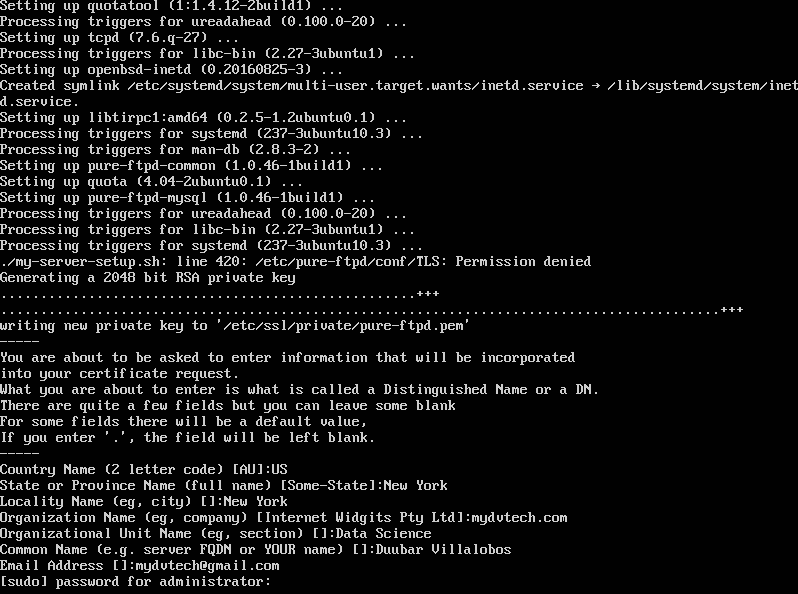
Type your Email Address
In this window, type your email address and press Enter. In my case, it is mydvtech@gmail.com.
Type your administrator password
In this window, type your administrator password and press Enter.
In my case, it is mysupersecretpassword.
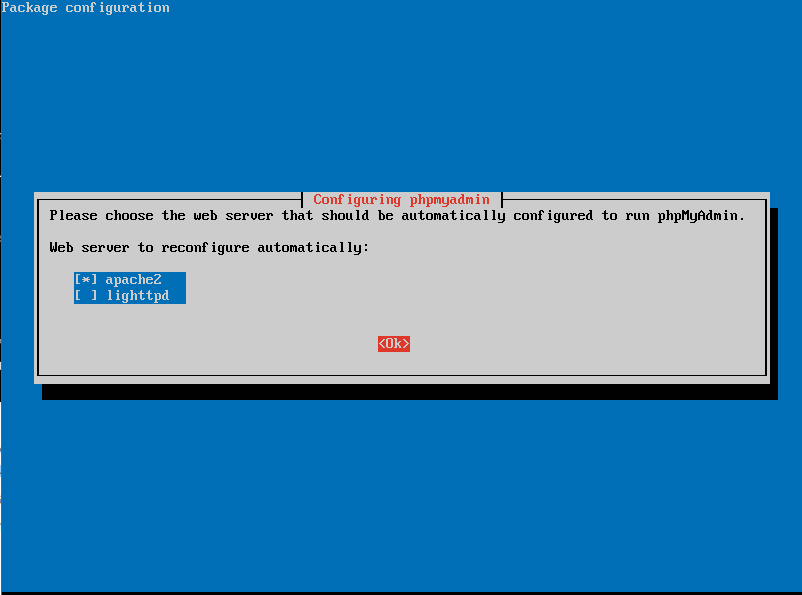
Select apache2 and press Enter
In this window, make sure to select apache2 and press Enter.
To select apache2, you have to press the space bar key from the keyboard and then press the tab key. Once that is done, you can press Enter.
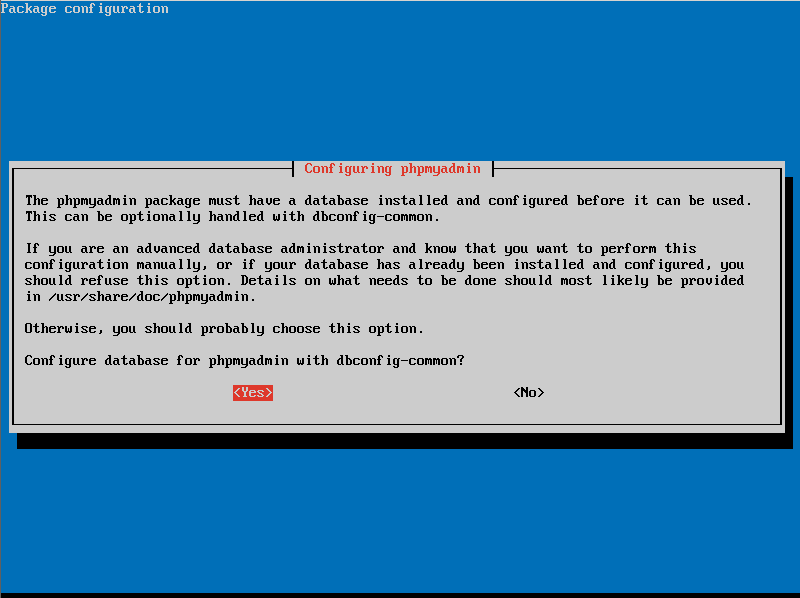
Select Yes and press Enter
In this window, make sure to select Yes and press Enter.
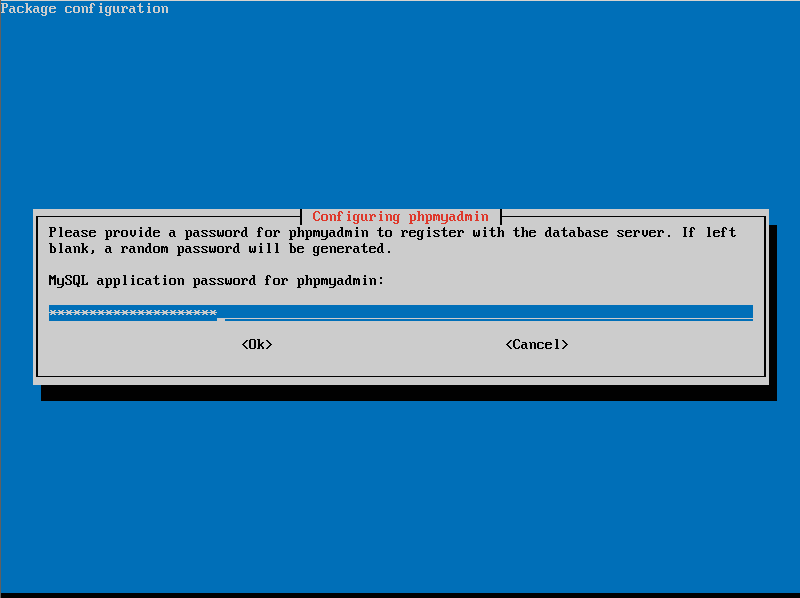
Type your MariaDB password from above and press Enter
In this window, make sure to type your previously defined password for MariaDB and press Enter.
In my case, I defined mysupersecretpassword as my password. If you are not sure to go back to your notebook and see if you entered a different password.
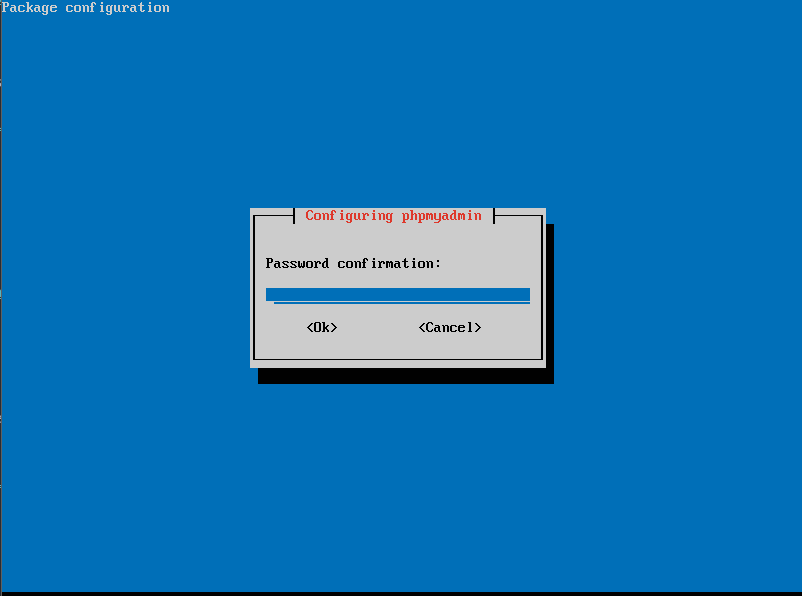
Confirm your password and press Enter
In this window, make sure to type your previously typed password and press Enter.
In my case, I defined mysupersecretpassword as my password.
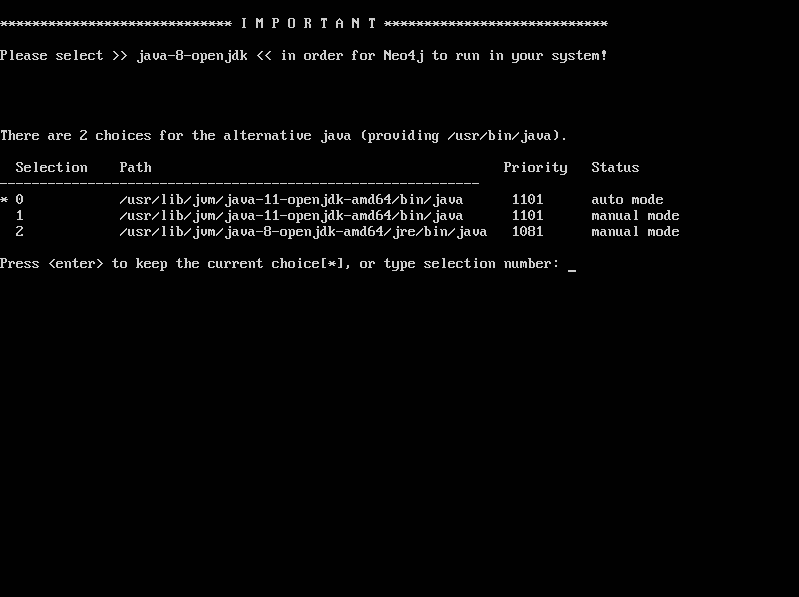
Select Java-8-openjdk and press Enter
In this window, make sure to type you select Java8 by typing the number » 2 « and press Enter.
This is very important if you want to run Neo4j.
Type your password
Once again if asked, to continue, type your super-secret password and press Enter. If you don’t remember your password, look into your notebook. In my case, my password is mysupersecretpassword.

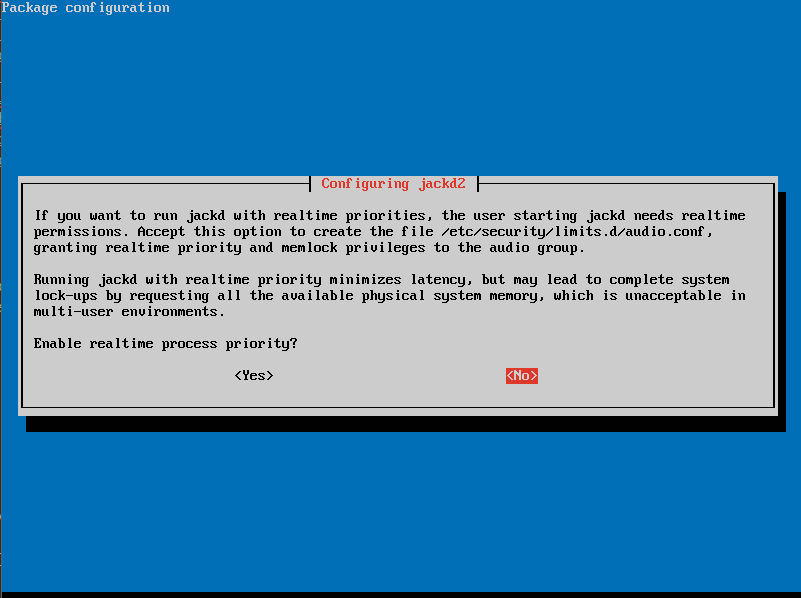
Select <No>
Make sure that you select <No> and press Enter.
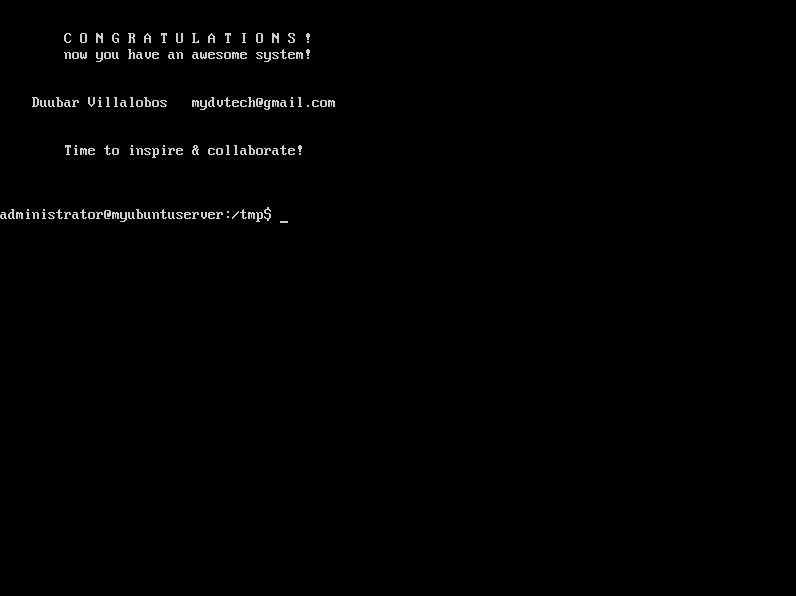
Congratulations
If you get this final screen, all went well. Now, you have an awesome system!
Reboot your system
To reboot your system, just type: sudo reboot and then press Enter.
sudo reboot
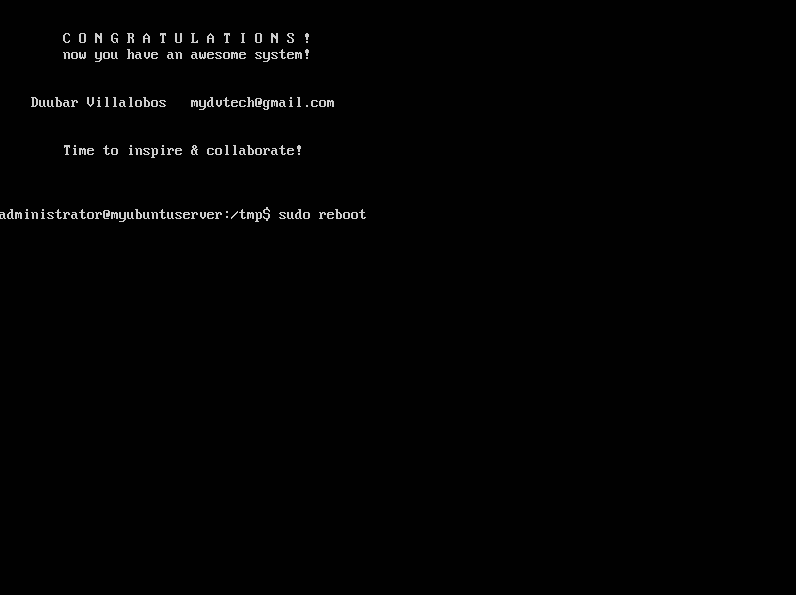
Once you press Enter, you will see a lot of printing happening on your computer, the computer will reboot; once it turns on, it will be set and ready.
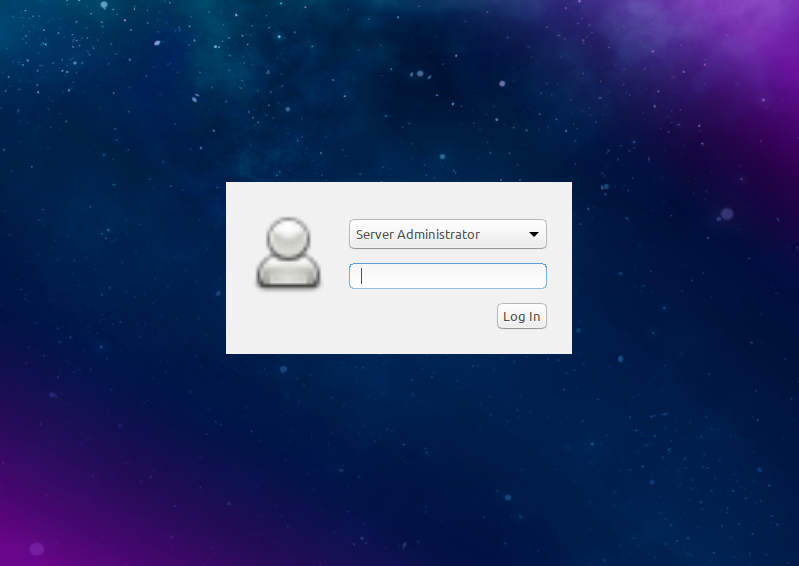
Welcome Screen
Now that your new server has rebooted; you will get greeted with a beautiful welcome screen. Your home server is set up and ready to tackle whatever you throw at it.
In this screen, to continue, type your super-secret password and press Enter. If you don’t remember your password, look into your notebook. In my case, my password is mysupersecretpassword.
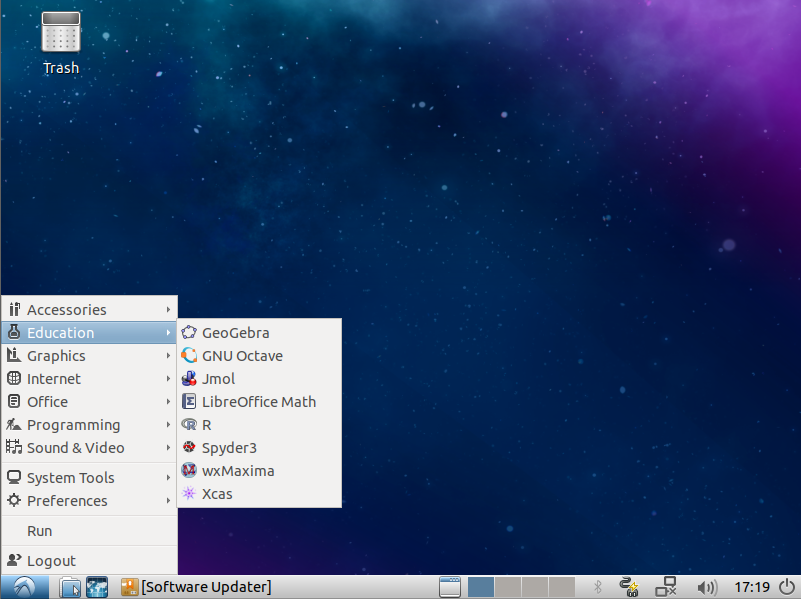
Lubuntu Desktop Environment
Finally, this is your Desktop Environment. The next step for you to do is to Start Dropbox or Close it; is up to you.
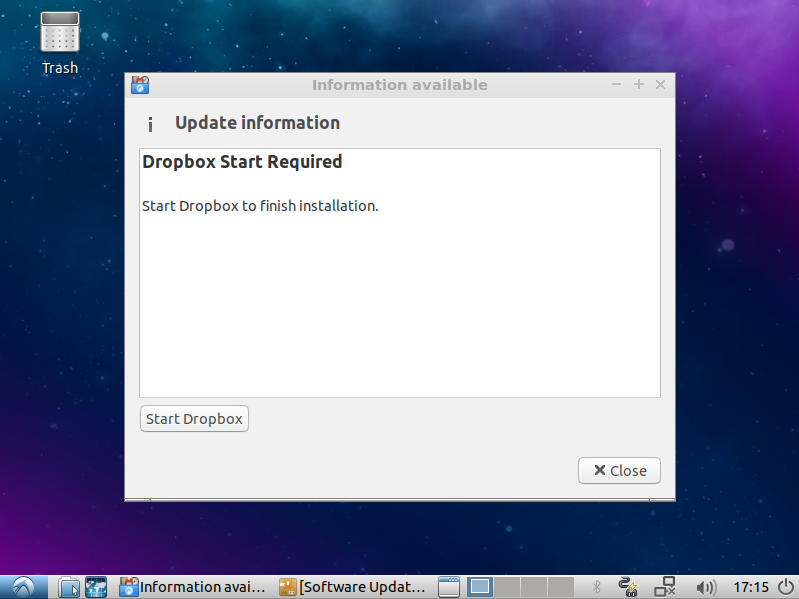
Explore the Desktop Environment
Now, I will recommend starting exploring the environment to get familiar.
Final thoughts
As you can see, the automatic script is very simple and the automatic setup requires minimum input needed from the user point of view. I know I have made a very long post, but I wanted to make sure that you get guided step by step to avoid frustration and gain satisfaction, I hope you enjoy the final result.
Also, you are free to edit the script to your liking, that’s my setup and I like to have things handy, but you are free to edit on your own.
Next step…
- Next: See the packages list.
Now, we are serious and ready to start a data analytics or data science program.
I thank you for keeping this long. I will appreciate any feedback you might have.